DIY Photo Wall Border

When we re-did our main bathroom I had no clue what I wanted to do with the main open wall. There used to be a couple wall boarders, and I knew I did not want any more of those. It took my a little while, but then I mentioned to my husband about wanting a photo wall border. One day he came home will some plastic boarders from Lowes. These were perfect!
I went back and forth on the idea of having family pictures in our bathroom. Finally I decided why not, and went with it. I’m glad I did, because I think it was a great addition to our bathroom. I even ended up adding art clothes line made up from my kiddos painting.
These plastic pieces come in 10 foot long size. You will want to measure the length of the wall you want to have this border on and figure out how much you will need. Cut the pieces to the lengths needed. You will need to measure the two borders apart depending on what size photos you will be putting in them
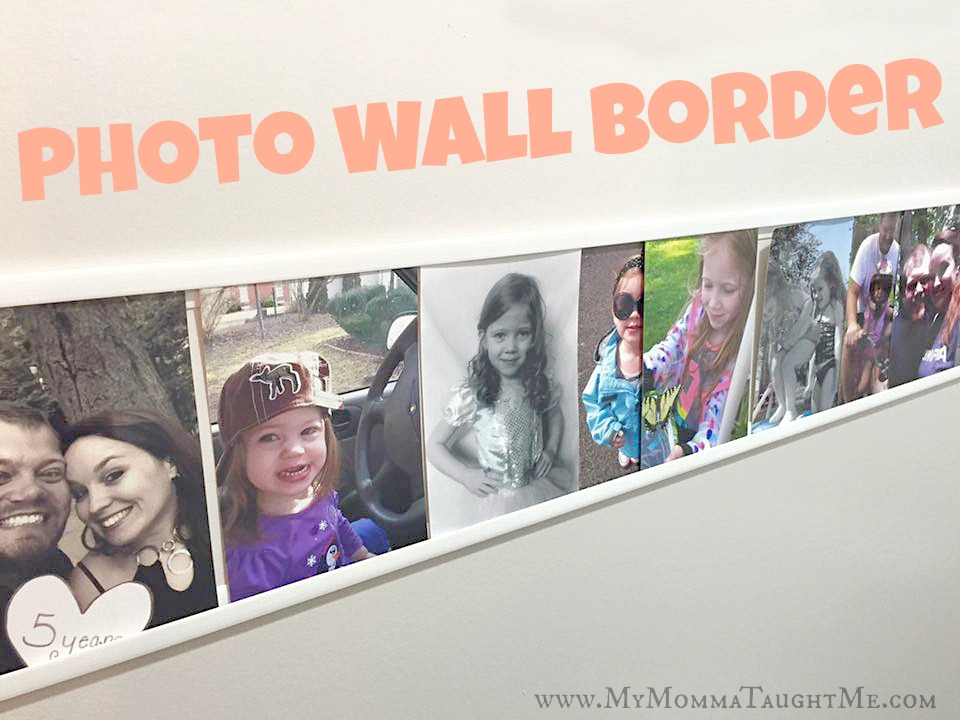
We went with vertical 4×6 inch photos. So my husband measured and marked off exactly where he needed to nail the long border pieces to the wall. You will want to make sure they are level and go across horizontally good.
After you are done nailing those plastic pieces, you can insert your photos. It’s a simple project that show cases all your wonderful photos!
Materials Needed:
- Wall Border
- Level
- Measuring Tape
- Nails
- Hammer
- Photos