How to Make Photo Gems
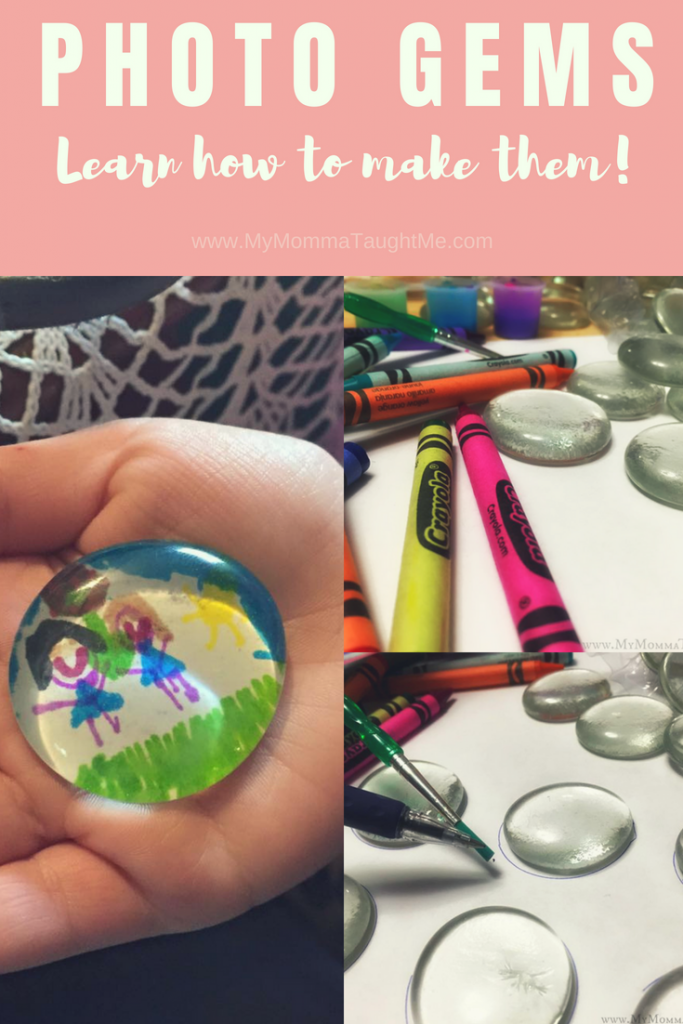
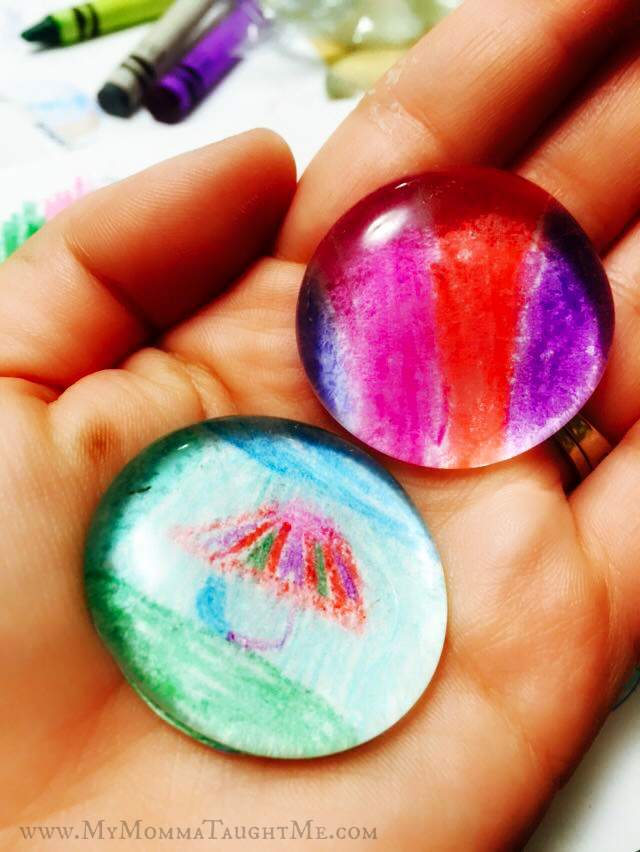
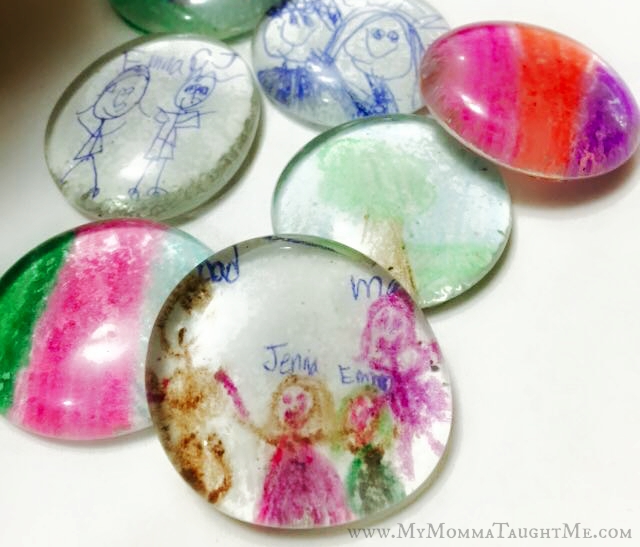
One thing that I have always wanted to try is photo magnets! I have seen this idea on pinterest and all over the place! I finally was able to create some really neat photo magnets with my kiddos. I of course, changed it up a bit. If you have kids too I think you will love this idea!
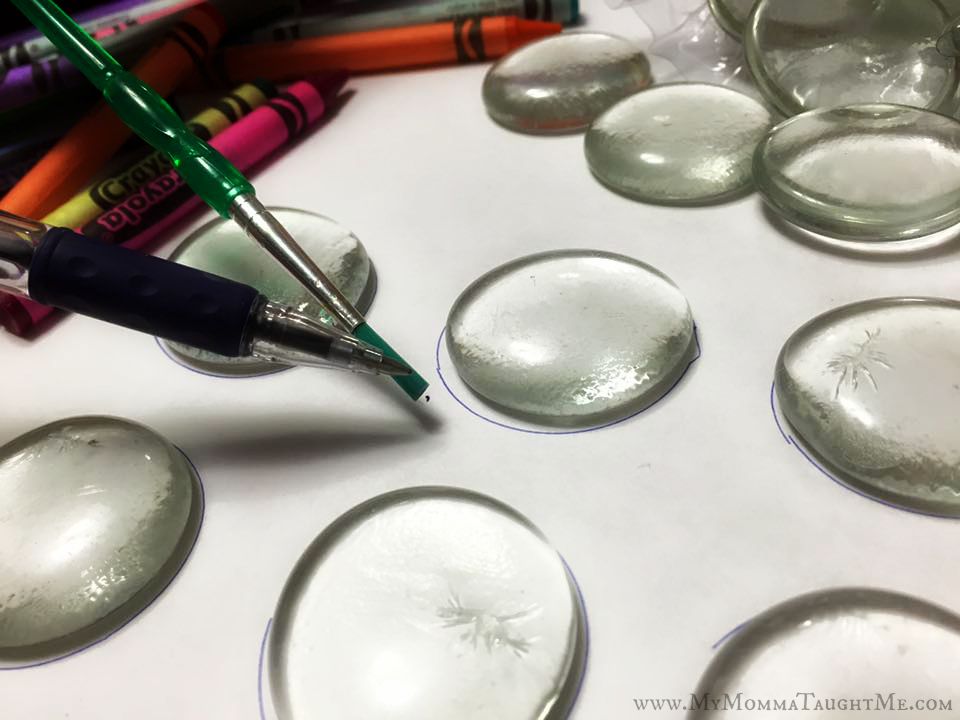
You can find a nice size bag full of these clear colored gems with a flat side at your local Dollar Stores.
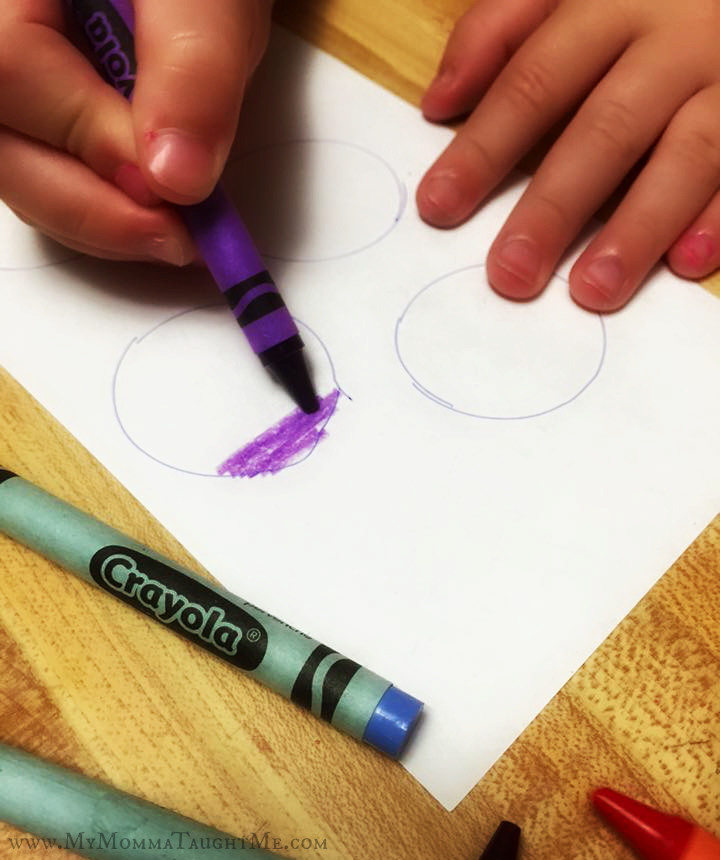
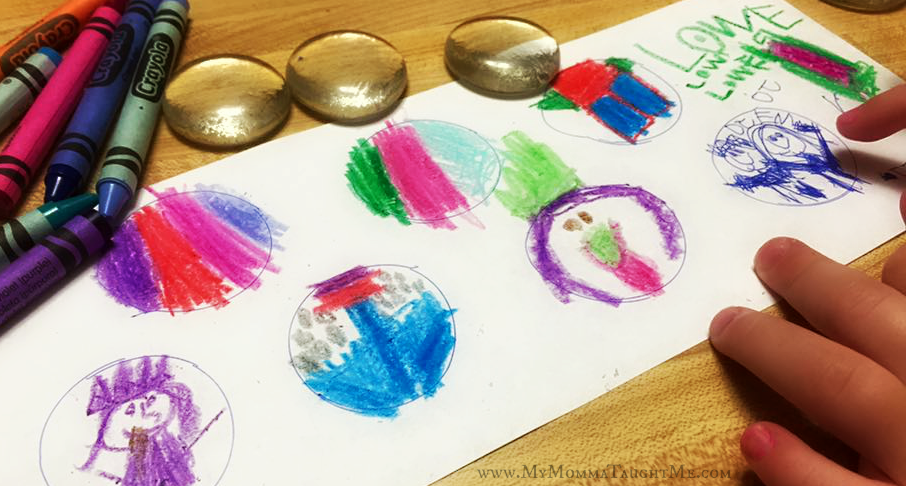
The first thing you are going to want to do is trace a bunch of the gems onto a plain white piece of paper. That way you have the correct space for your kids to color in.
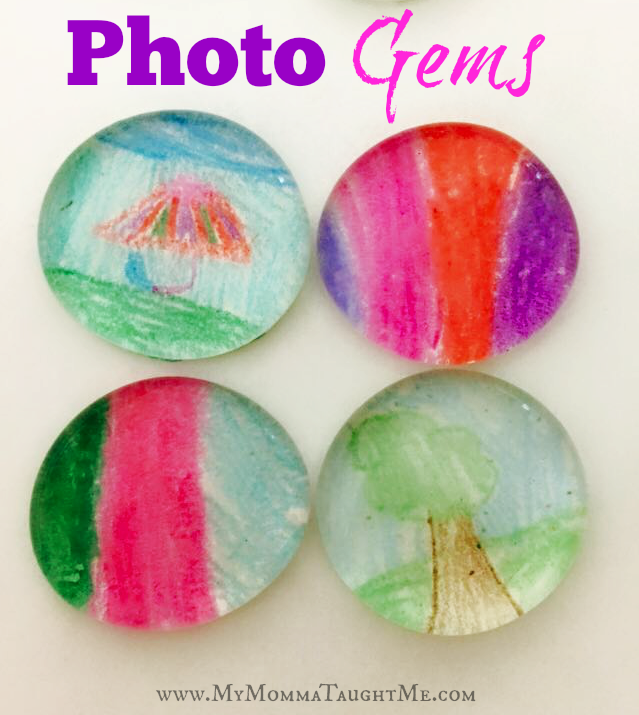
Then you are going to have your kiddos color in those little circles with what ever they want! Be creative! This is the fun part! 🙂
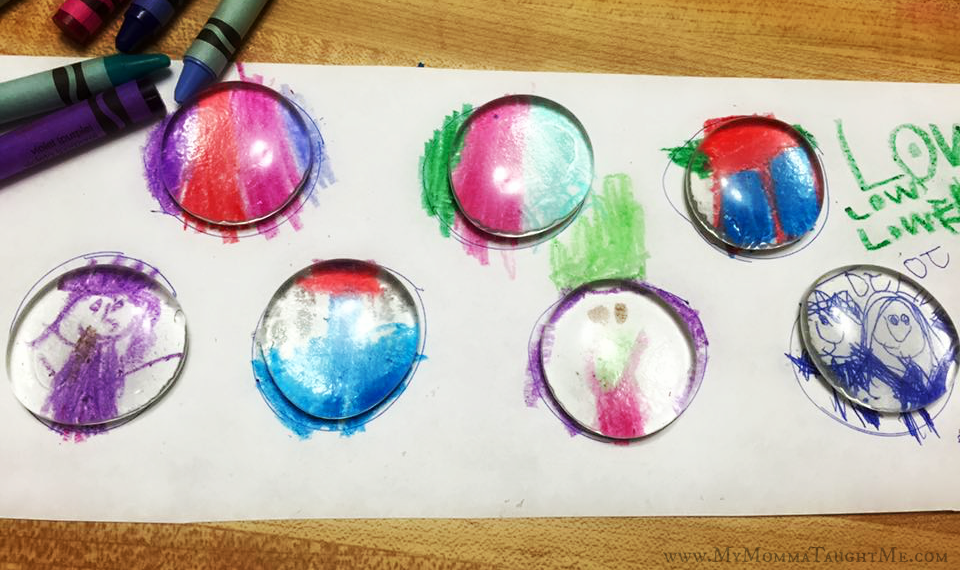
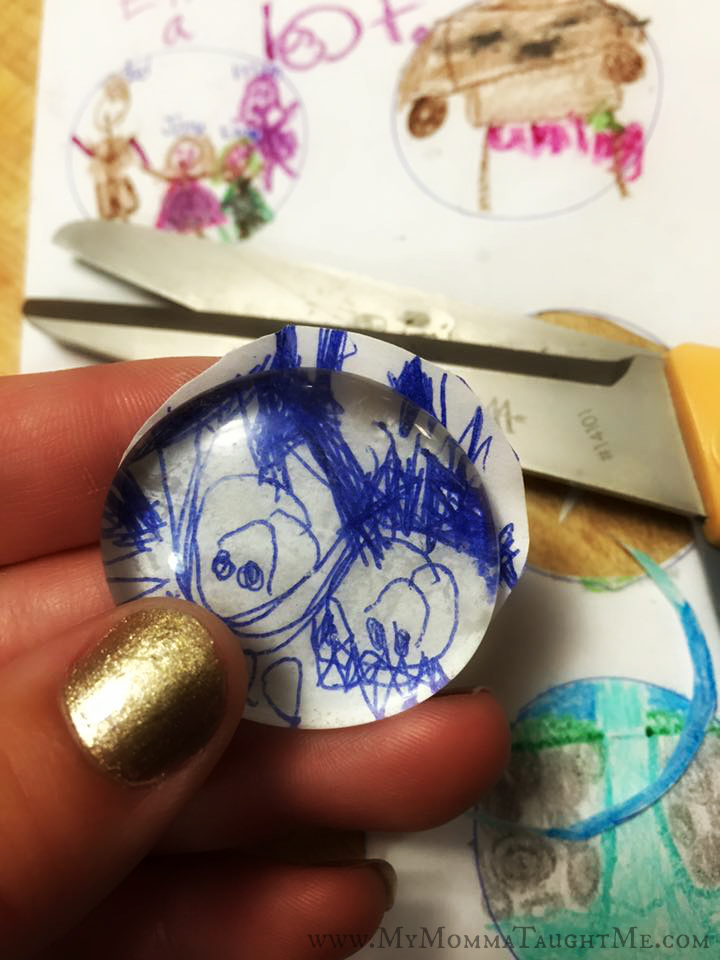
Then when they are all done, you will want to cut them out. After you cut them out you will want to glue them to the flat sides of the gems with the images facing up so you will be able to see them through the gems. I used white glue sticks. They went on clear and seemed to stick fairly well.
After you glue them you may need to trim the edges so they fit more properly.
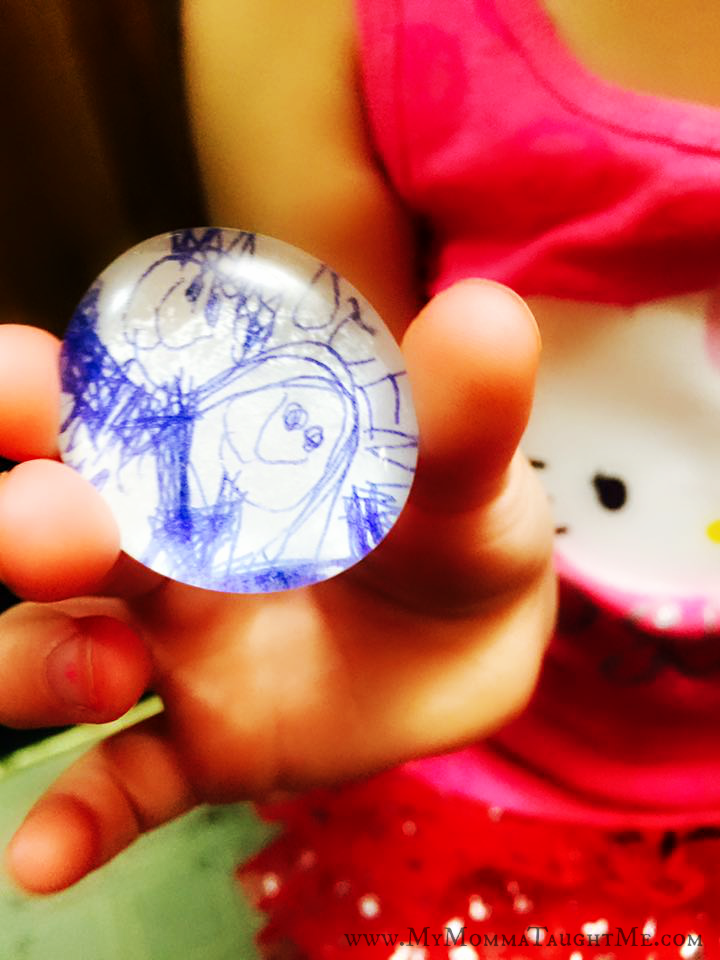
My girls absolutely had a blast creating these! We will be gluing on some small magnets (once I can find my stash of them) and hanging them on our fridge! 🙂
If you don’t have kids, this could be a great craft for you to create your own designs for photo gems! You could print out cute designs, create your own, of even use photos! Love it!
