How to Create Halloween Frame Decor Using Dollar Tree Items
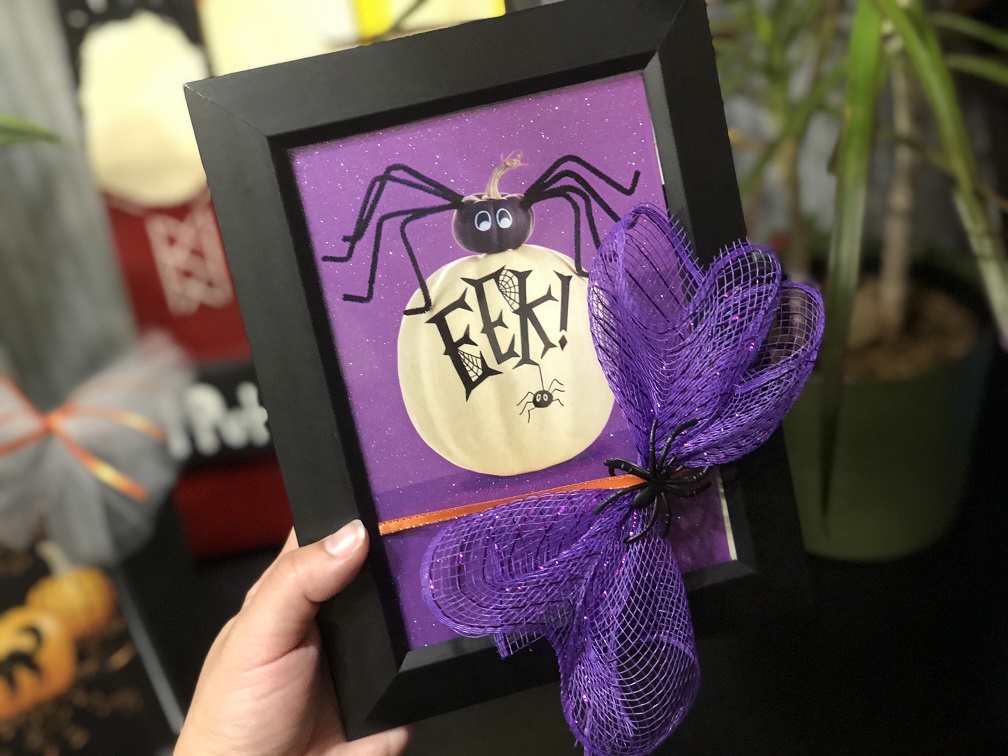
This is a super easy DIY that anyone can do, and it’s super cheap too! That’s right up my alley. I’m going to share with you how you can make some simple yet cute and affordable Halloween Frame Decor using items found at the Dollar Tree.
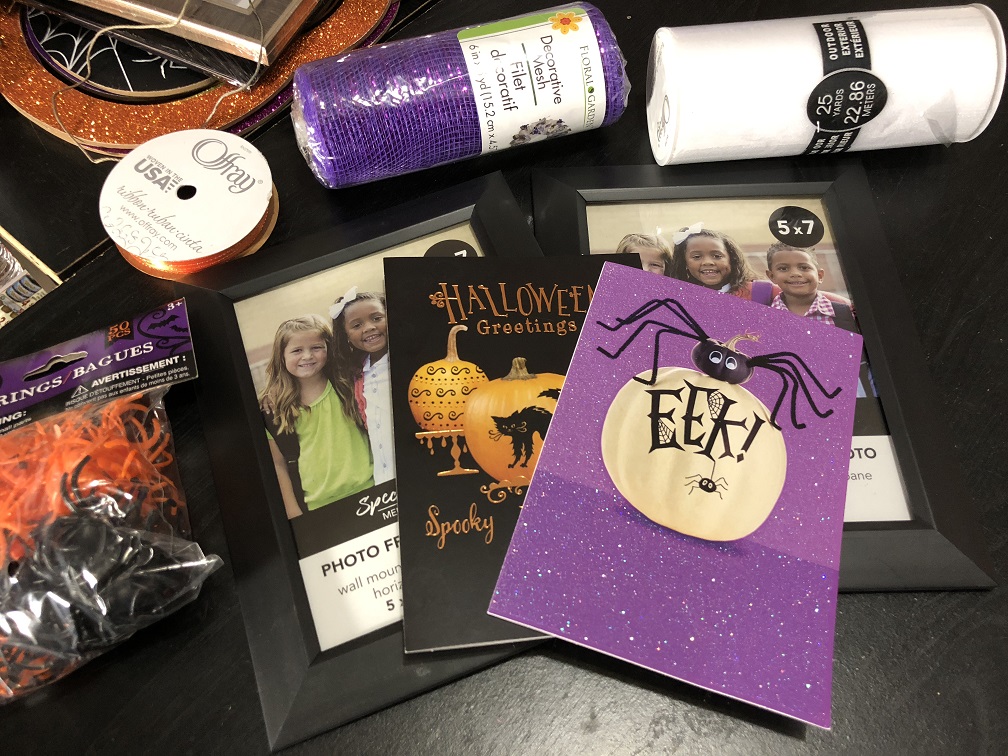
The Dollar Tree is the best place to find some cheap Holiday Items. Every season they put out a wide range of items, depending on your store. Everything is priced at a $1.00 or less. I found everything for $1.00 each except the cards were only $0.50 each. So everything above I purchased for $7.00. Considering the price of the multi packs and the mesh that you will only use a few inches of your total for this project really is going to be closer to under $2.00.
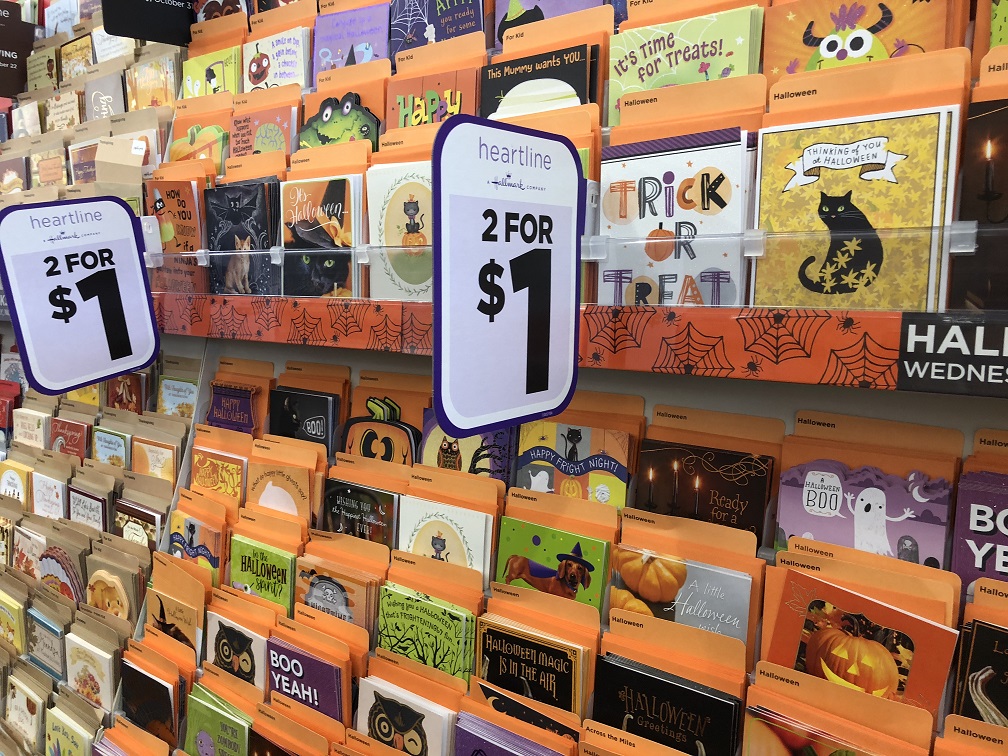
They have multiple $0.50 Halloween Cards, and even some $1.00 ones. I was looking for ones that were more for that simple look. That’s how I choose the ones I wanted.
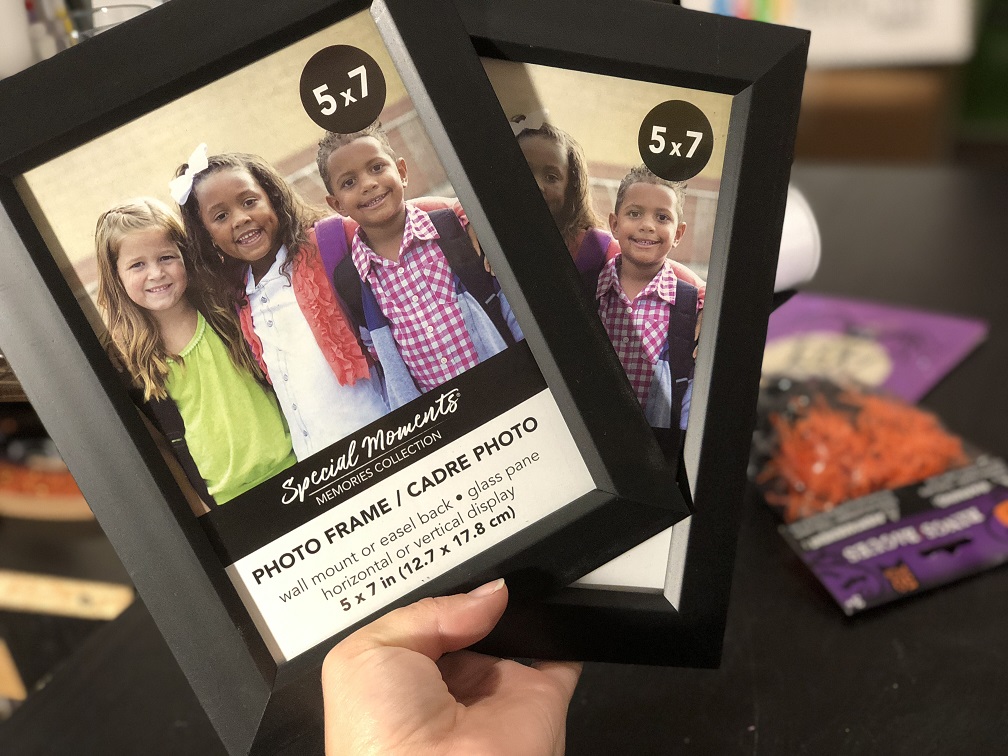
Make sure that you match up the cards to the frames. We choose the 5×7 frames for the cards we selected. I know that Dollar Store frames can be a little flimsy and cheap….we even broke a piece off in the back doing one of these. They do work great though for the purpose. Make sure you choose wisely!
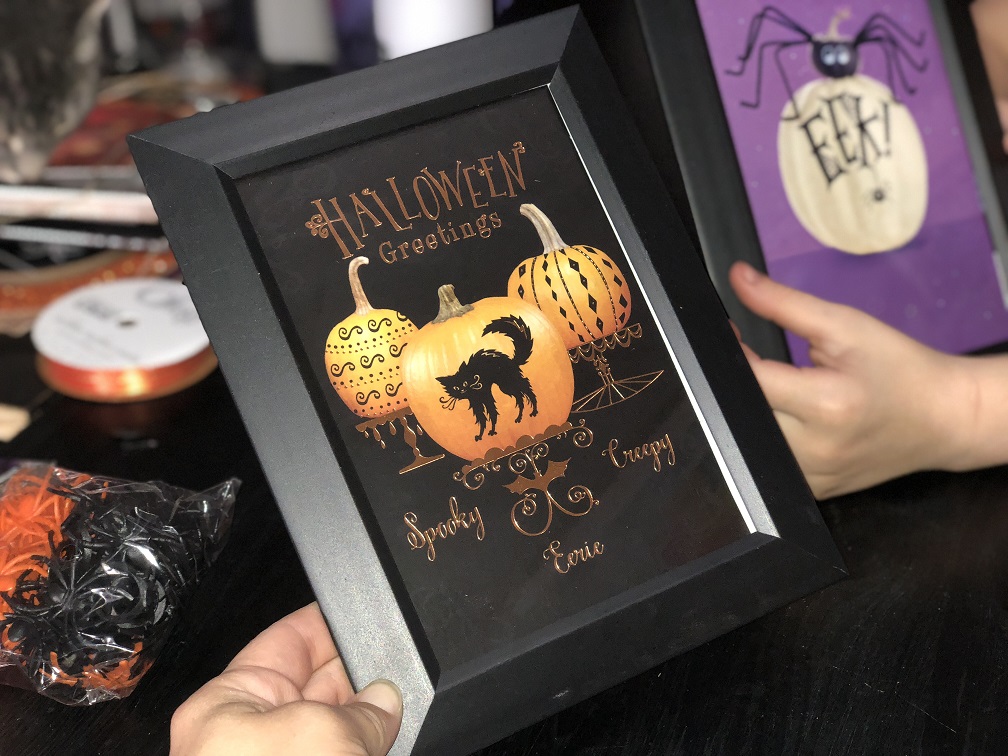
Pretty simple really…all you have to do is insert the card face up into the frame! Doesn’t get much easier than that craft wise, right?!
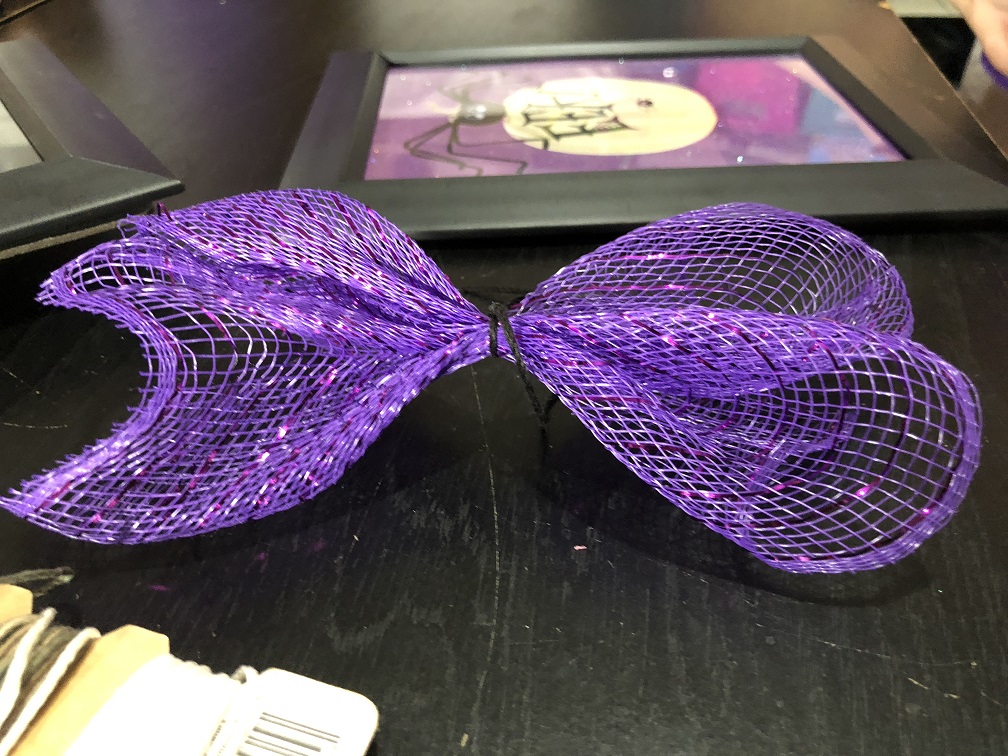
Next up I created a bow to attach to the frame. For this I used the mesh that I got from Dollar Tree. I choose the purple to match with the card I selected. I cut about 6 inches of the mesh then rolled it up and gathered in the middle. I used some black string I had a home to tie it off in the middle. All I added next was the fake spider. You can add more ribbon or spiders or whatever you may choose.
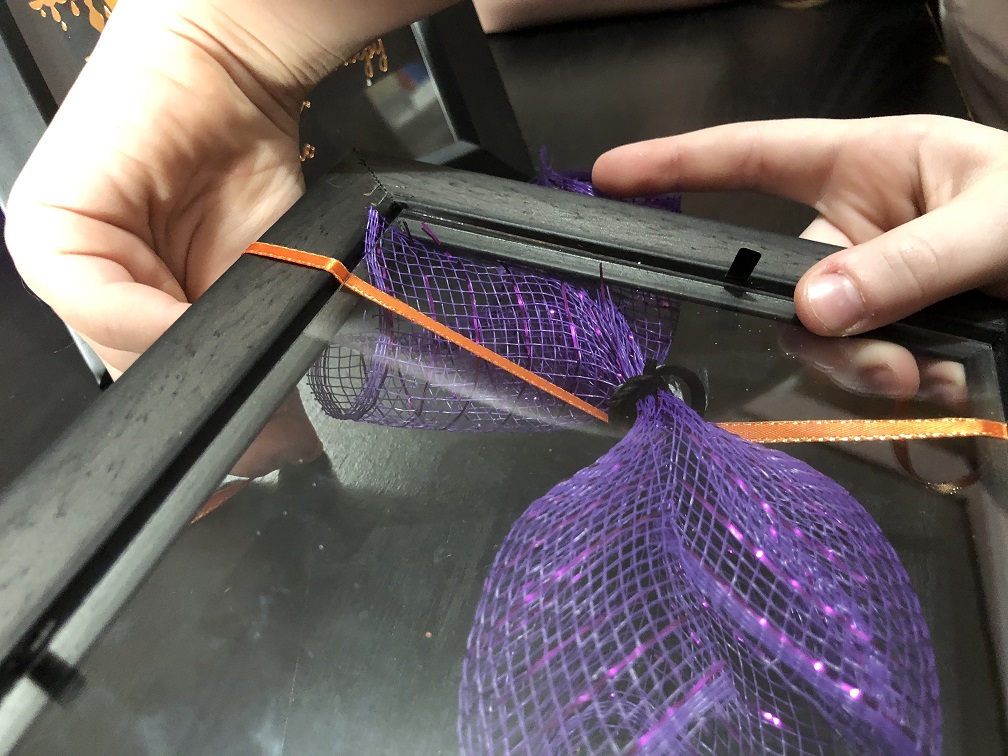
I was going to hot glue the bow to the frame or glass but then I thought that I could attach it with string without having to glue. Sometimes I like being able to reuse my items and change them out if I want to. Sort of like a duel purpose. I took the back and glass out again and put the string through it and putting them back on top of it. This way it fit snug and all I had to do it tie it in the back. You can totally hot glue them too if you wish.
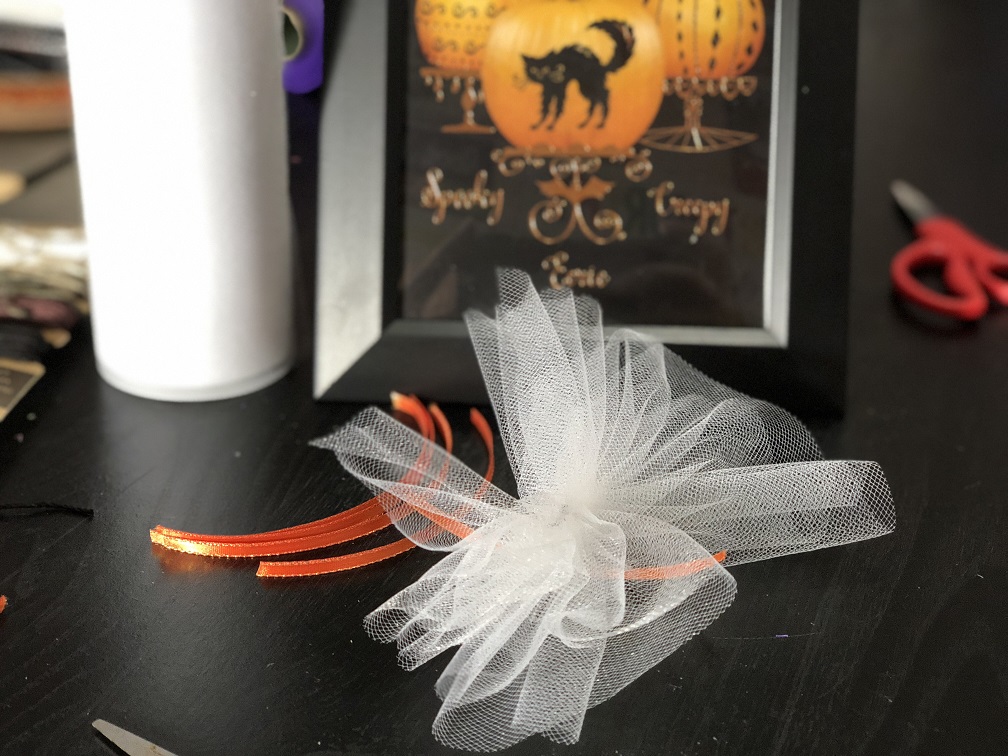
For the second frame we made I wanted a different bow to attach to. So I took my white mesh and cut about 6 inches off of it. Then I gathered it accordion style and tied the middle with string. I then cut off four small strips of orange ribbon to create a cute flair of color. I took those four ribbon and laid them across the middle how I wanted them and wrapped the middle with another small piece of ribbon. Then I fluffed it out till I got the desired look. I didn’t even hot glue this one either. I used the small pieced of ribbon I wrapped around the middle and taped them to the back.
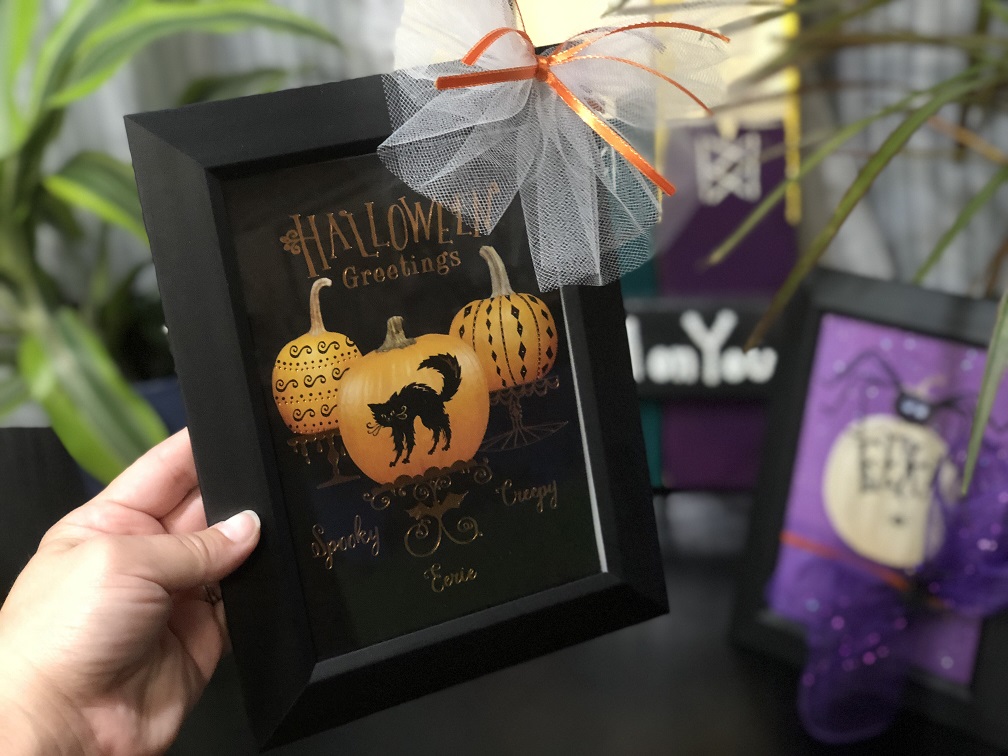
This was the final look. I like it! Let us know what you think below in the comments section.
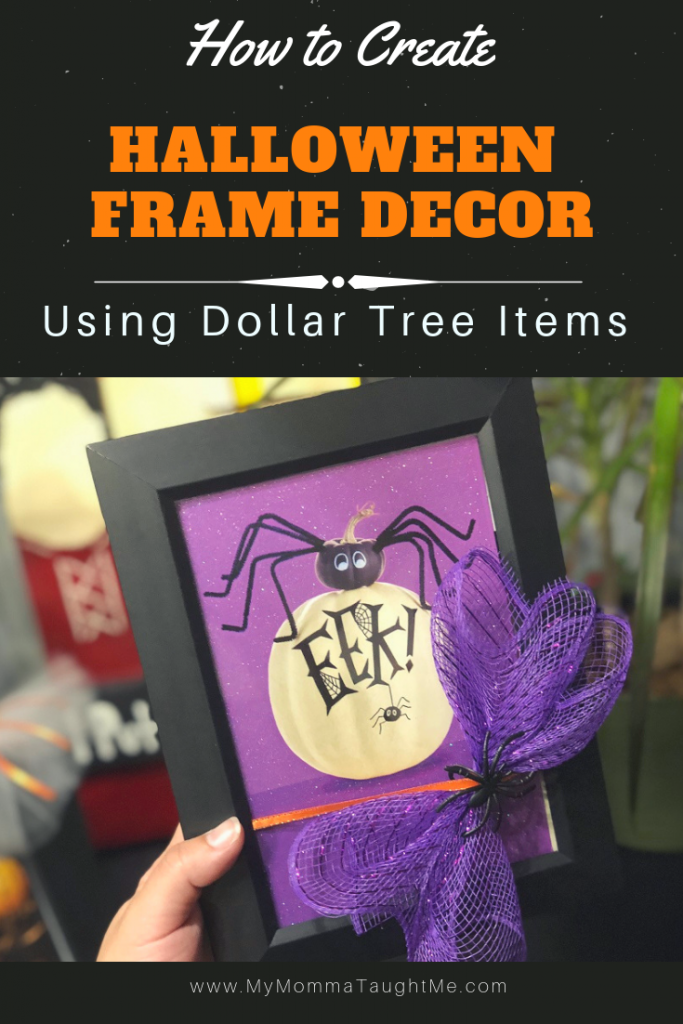
Consider Pinning for later!