Step by Step Tips for Successful Tie Dyeing!
If you’re crafty and LOVE a fun DIY project like me, these step by step tips are perfect for you! Tie dyeing is a super fun thing to do in the summer time (or any time for that matter!) I am not a professional at this by any means, but these steps are what I do and it works great for me. My end results are always very bright and colorful, and really don’t fade much. If you’re browsing through, it may seem a little overwhelming at first, but I promise its not! Each step is broken down for you to easily understand and follow. Every tie dye comes out a bit different, and experimenting is just part of the fun! In the steps below, I will be showing you a simple dye method called Ice Dyeing. Its used for giving a slightly different texture and color flow than the most common method, liquid dyeing. I will also be liquid dyeing one portion of this shirt!
What You Need:
- Rubber bands and/or zip ties
- Gloves
- Squeeze bottle
- Washable marker
- Natural Fiber item (100% Cotton, Hemp is best)
- Soda Ash mixture
- Professional grade powder dye
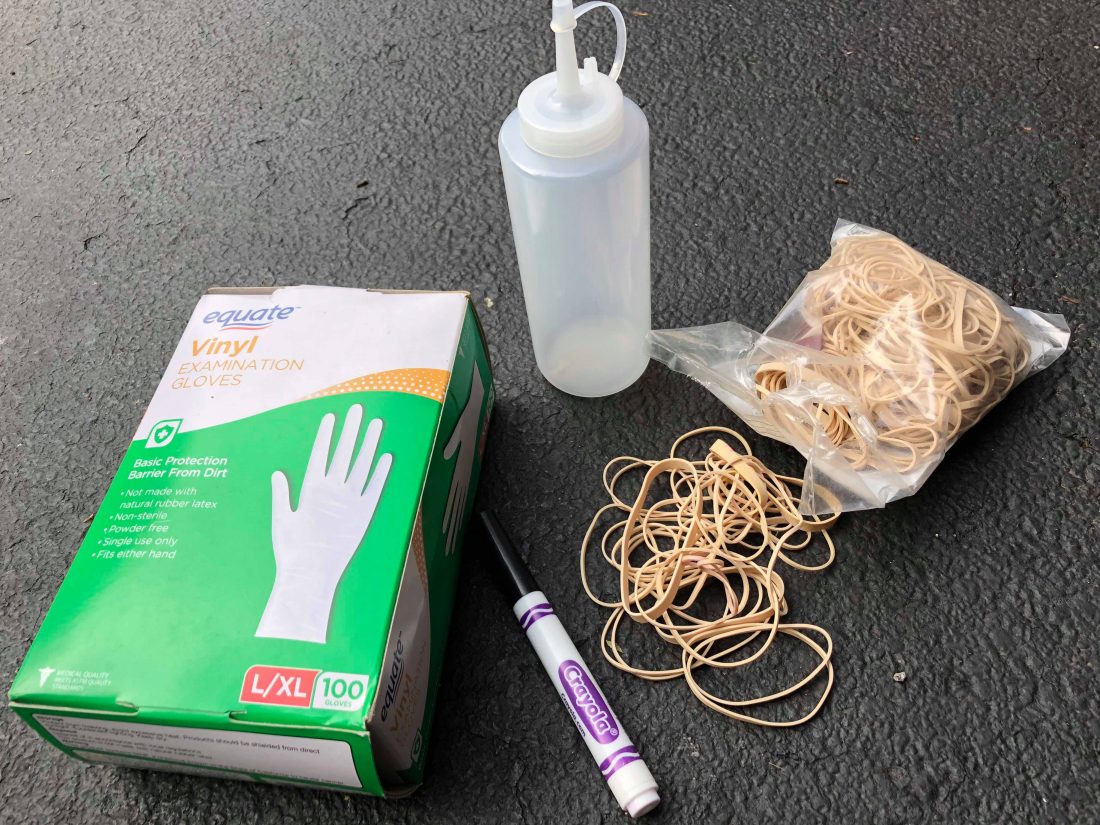
Lets start off with the basic supply list you’ll need to get started! Rubber bands (zip ties also work well for most projects!), gloves, narrow headed (basically a small hole at the top) squeeze bottle, and a washable marker. (I found these squeeze bottles in the kitchen section at WalMart for $0.98 cents. They are condiment holders) You’ll also need your dye, and your article of clothing or whatever you choose to dye. Natural fibers will take dye the best. 100% Cotton, Hemp, etc are best for these projects. I have dyed shirts that are only 80% cotton, and while they DO look okay, they are not as vibrant as they could be. I would avoid anything that is less than 80% natural fiber.
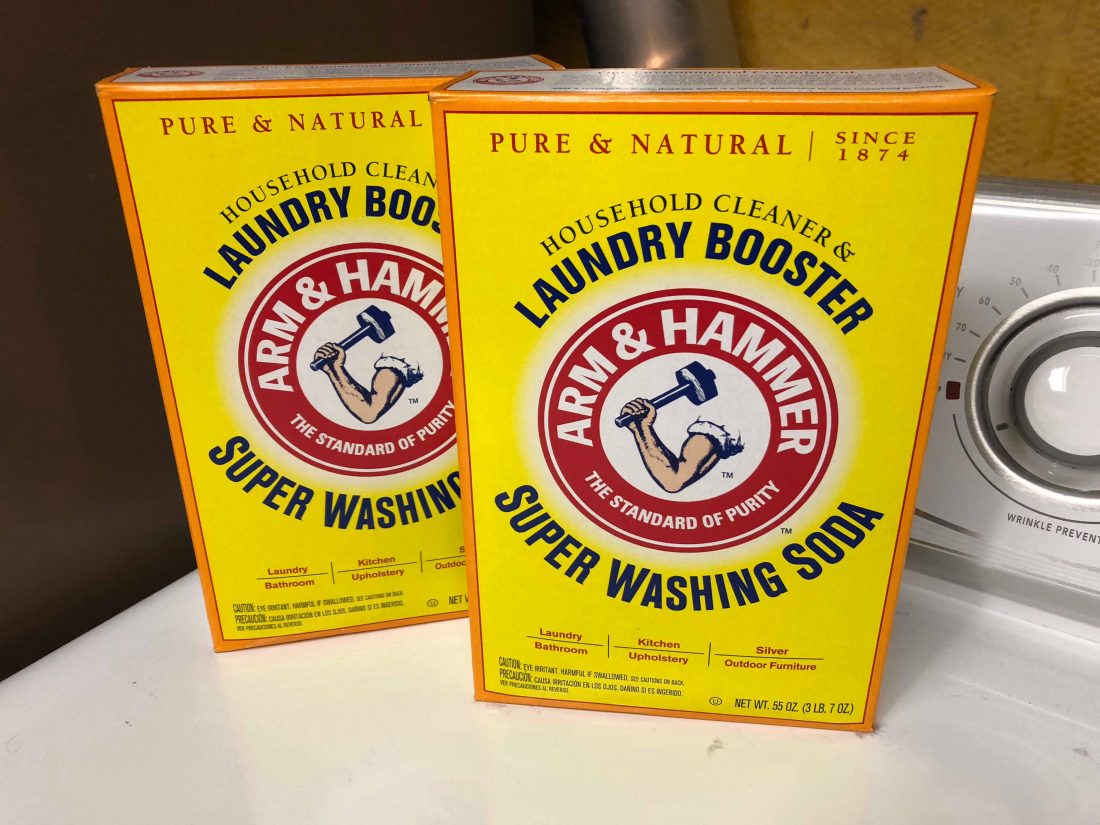
The first tip I have is to make sure you soak your shirt in a Soda Ash mixture. This mixture can be bought at most craft stores, but its MUCH cheaper to just make your own. Its very easy. Soda Ash consists of Sodium Carbonate and Water. Don’t let the fancy name scare you! You can grab some Arm and Hammer Super Washing Soda for about $3.50 at just about any store with a laundry section. This Washing Soda is pure Sodium Carbonate. This mixture helps the dye to react and stick to your fabric, I really believe this is the KEY to bright long lasting colors.
To make your mixture, you’ll need 1 cup of Washing Soda to 1 Gallon of HOT water. Its that easy! Mix and stir well until all of the washing soda is dissolved. I usually make up my soda ash mixture with 2 gallons of water. This mixture can also be saved and reused for a later project. I store mine in a plastic cat litter jug and pour as needed.
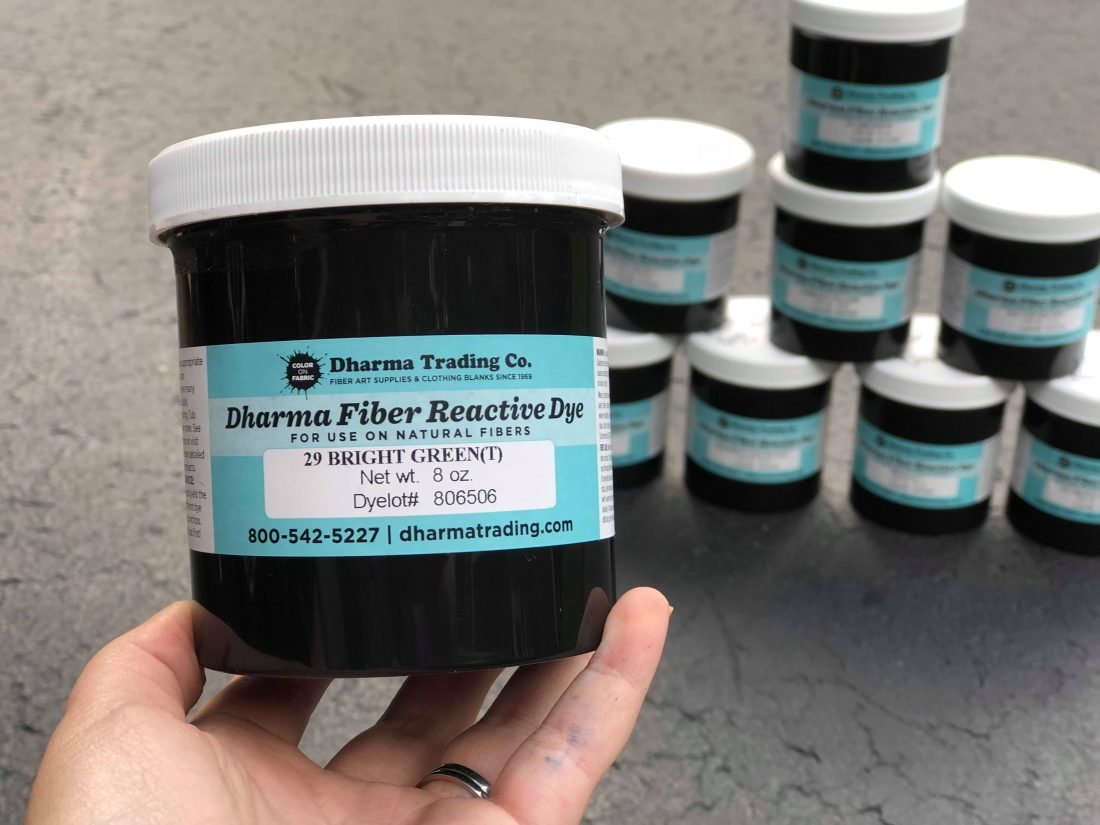
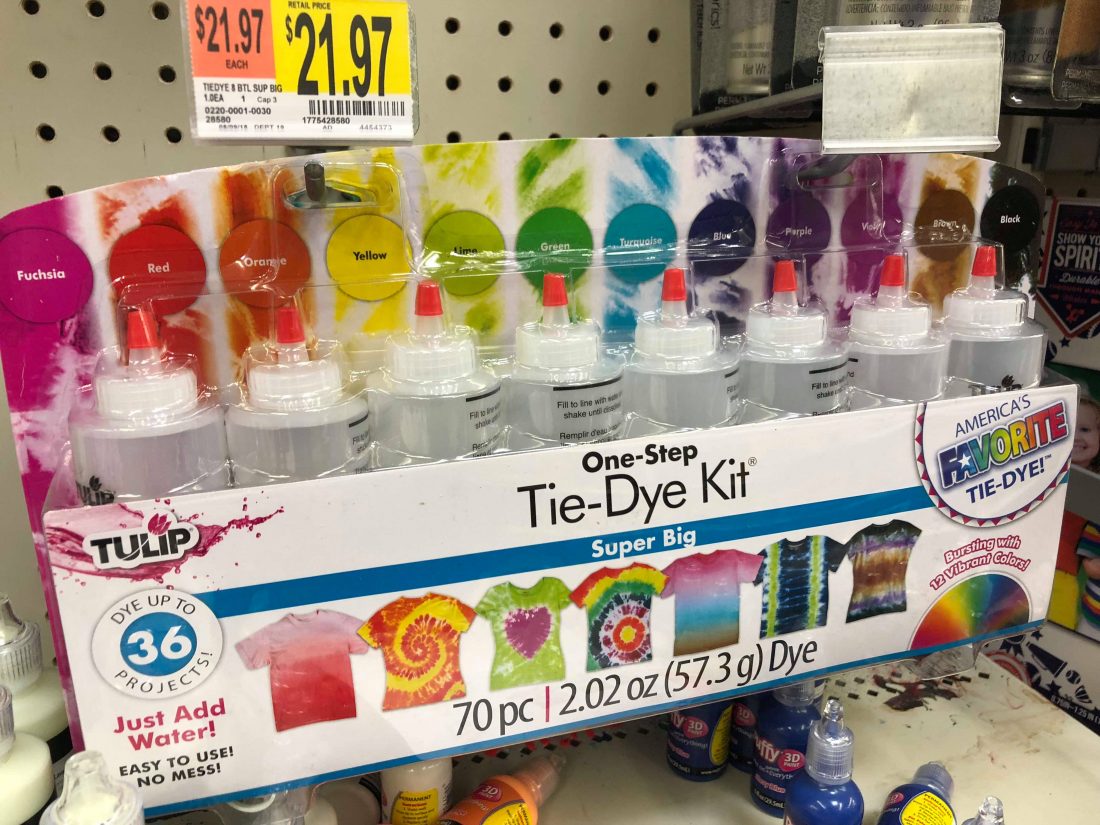
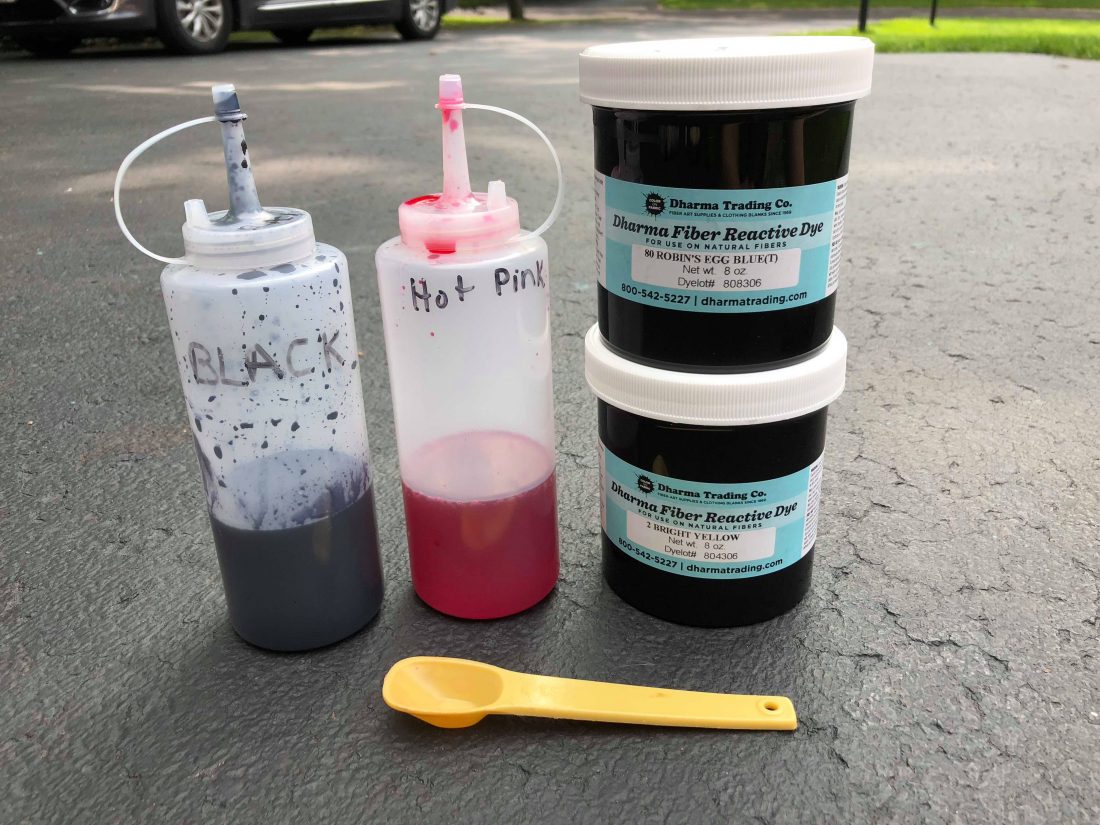
Now, lets talk about the dye. There are tons and tons of different brands you can use. The most popular would be a Tie Dye kit that can be found at most retail stores. While these dyes are fine to use, I personally find they don’t stay very bright for long, and honestly, they are fairly expensive in price for the amount of dye you get. I like to really saturate my shirts to get the deep bright colors. I find buying professional grade powder dye online (there are many places to buy, Dharma, Custom Colors etc) is the most bang for your buck, and these pro dyes also create the bright bold and longest lasting colors. My dye is from Dharma Trading Co. These 8 oz powder tubs range from $4 to about $15 depending on the shade, but will last for MANY many projects.

To mix my powder dye, I measure as follows – Adjust to your needs, or follow the directions that come with your specific dye:
Color Dye –
8oz water – 2 Tsp. dye
16oz water – 4Tsp. dye
32oz water – 8Tsp. dye
Black Dye –
8oz water – 4 Tsp. dye
16oz water – 8 Tsp. dye
32oz water – 16 Tsp. dye
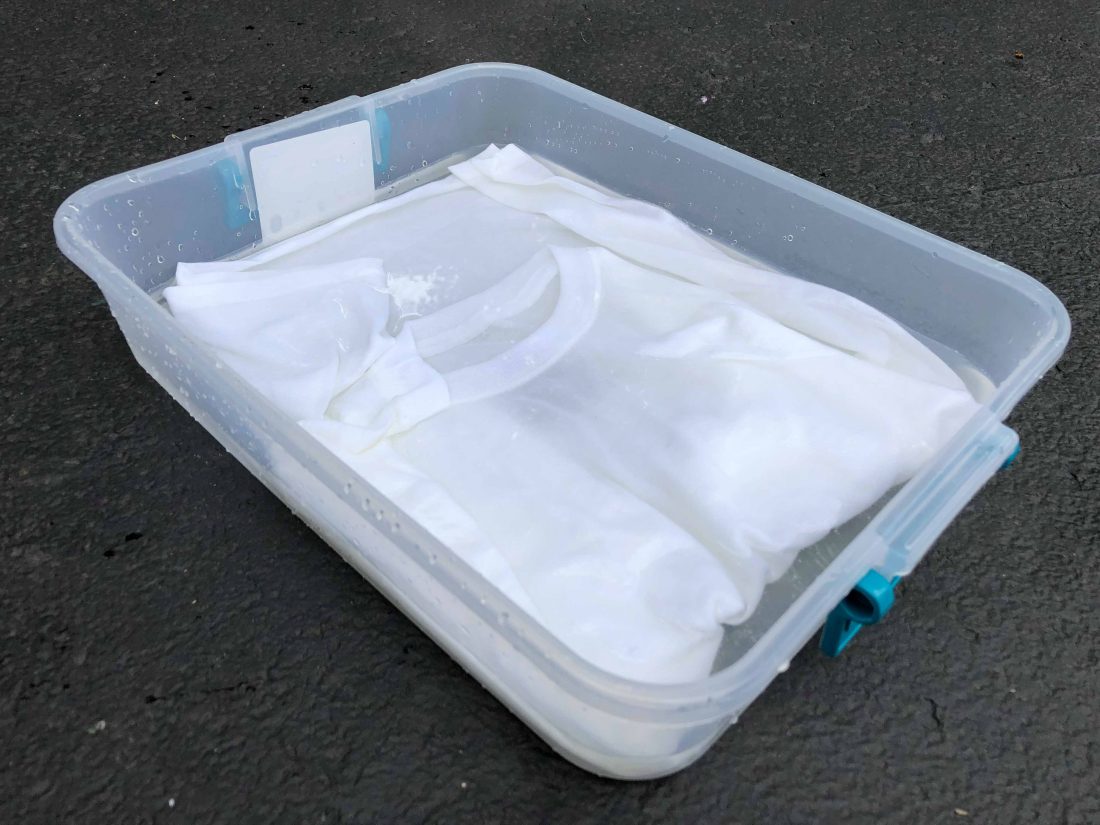
Okay, enough rambling! Lets get started! Soak the item youre dyeing in your soda ash mixture for AT LEAST 20 minutes. Longer is better. Sometimes I will set it in the mixture in the morning and by the time the kids and I are ready to go play outside after breakfast, I will take the shirt out then. Its not necessary to soak for more than an hour or so though. 20 minutes is fine.
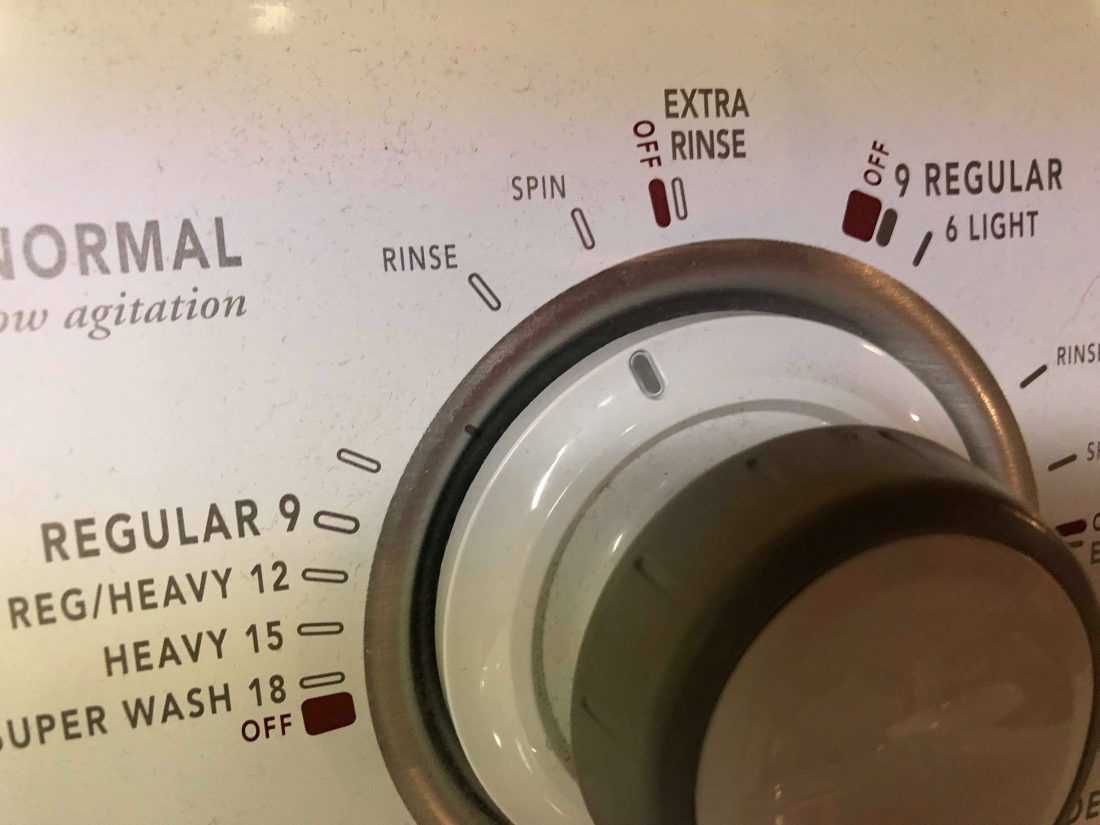
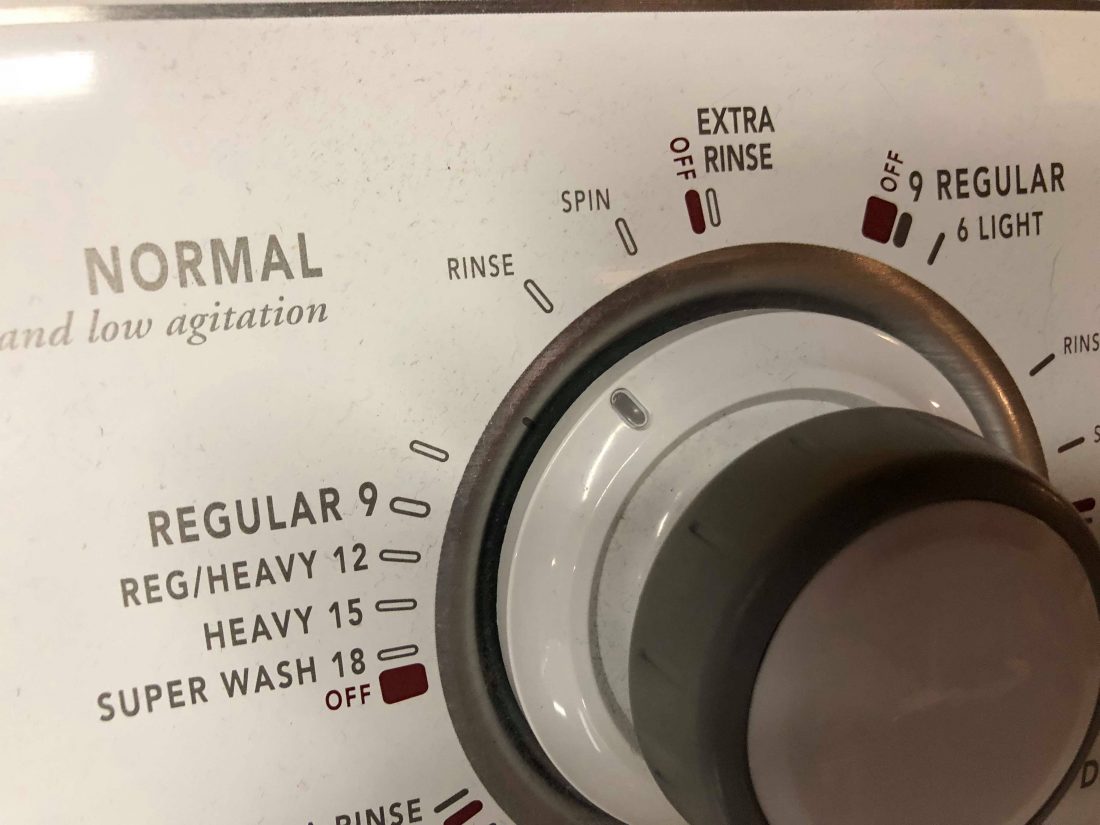
After your soak, youll want to ring out at much of the liquid as you can. This mixture can be drying or slightly irritating to your skin, so I would recommend wearing a pair of your gloves for this part. Youll want to toss your shirt in the washer and do a SPIN ONLY cycle to get the remaining liquid out of your shirt. DO NOT RINSE!! You want the soda ash ON the shirt, you just dont want the shirt dripping wet, or your dye wont stick as well.
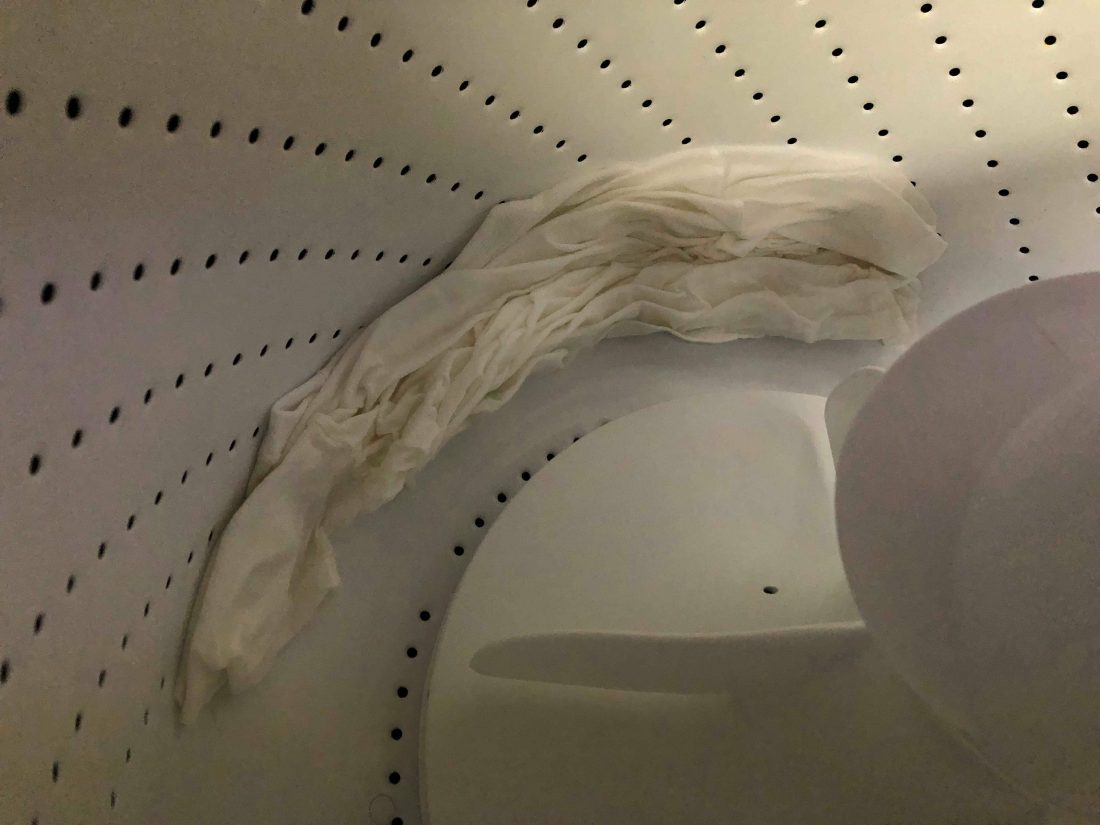
Now that your shirt is spun out, but still damp, its time to start tying!
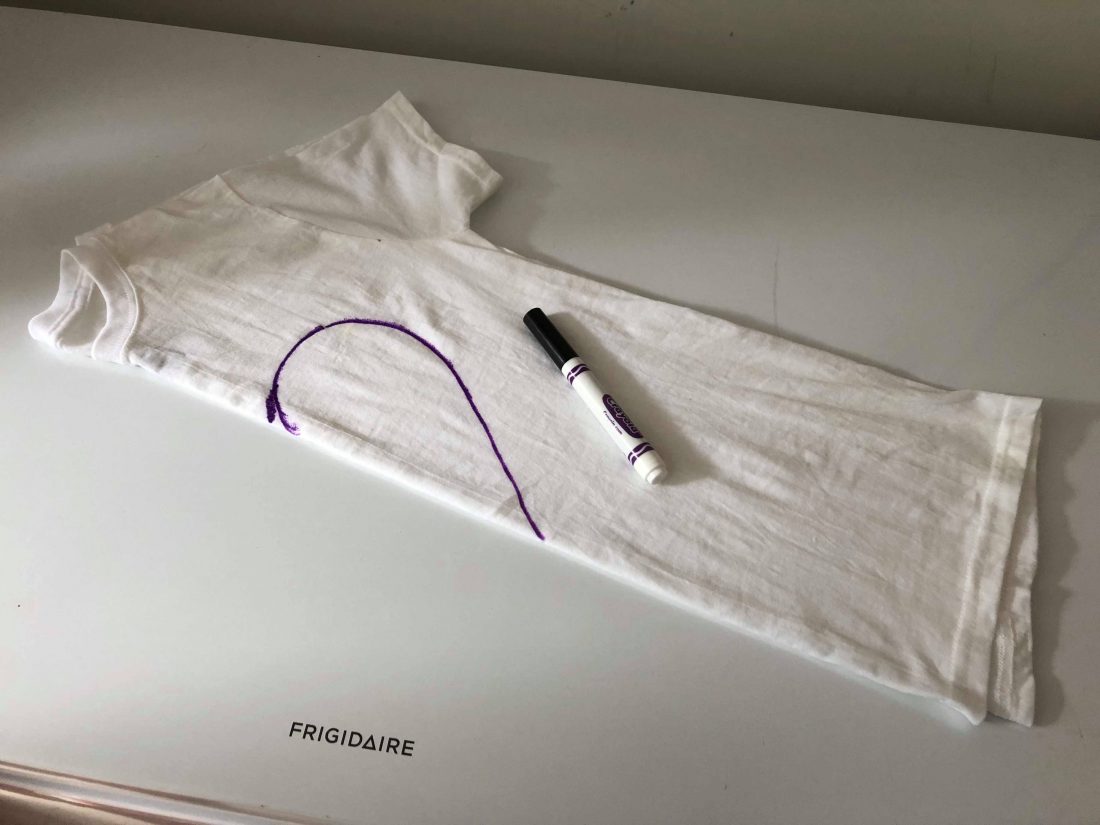
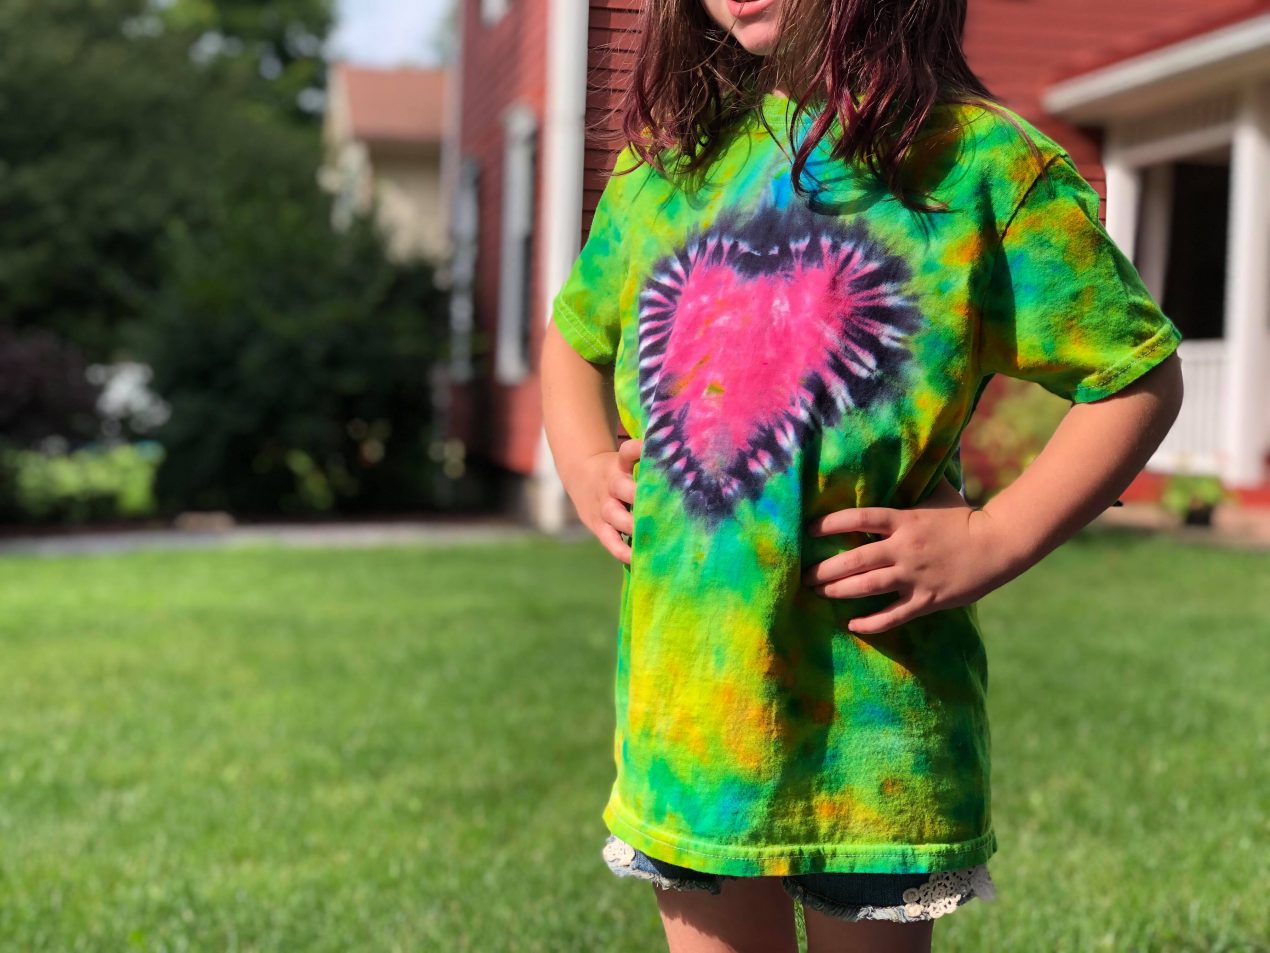
There are a LOT (like ENDLESS!) ways to tie up your shirt for different designs! I wont go into too much detail with this, but YouTube is a fantastic place to search and get step by step tutorials on different designs. Some are easy and some are really difficult. Stick with the easier ones until youre comfortable with dyeing. My design will be a simple heart in the center of the shirt. I folded my shirt in half, long ways, then drew HALF a heart with my washable marker.
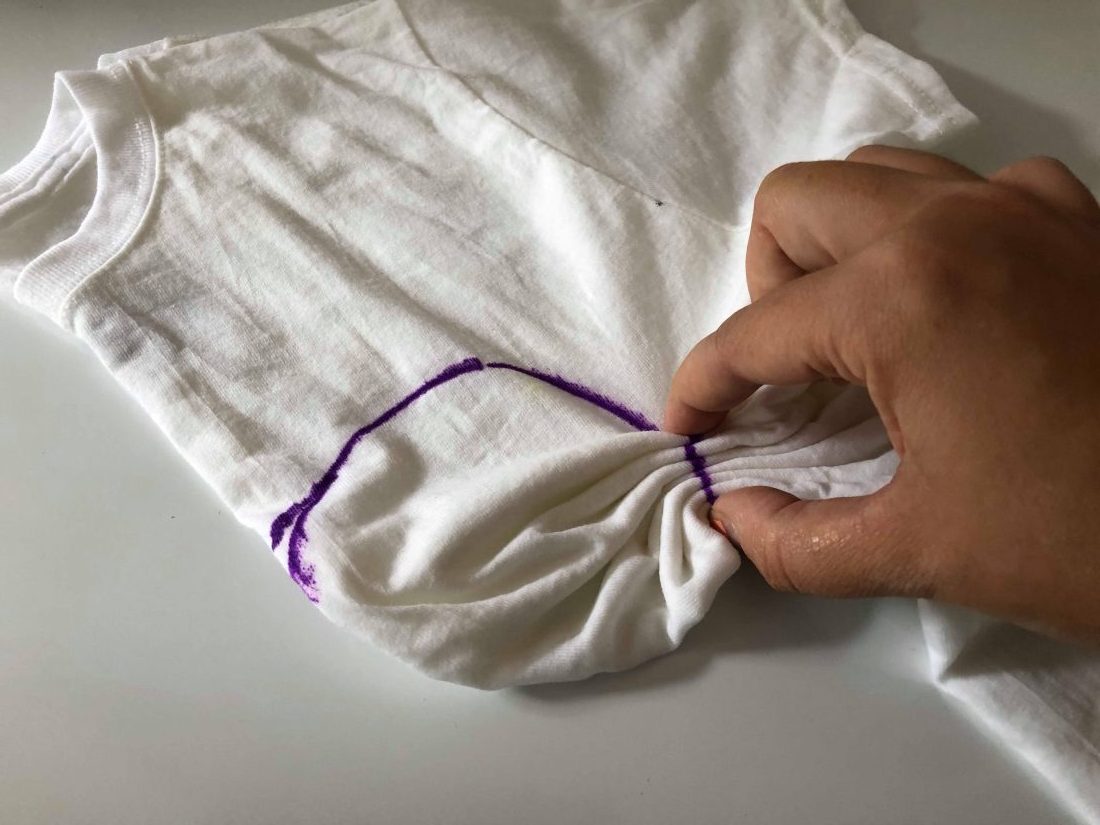
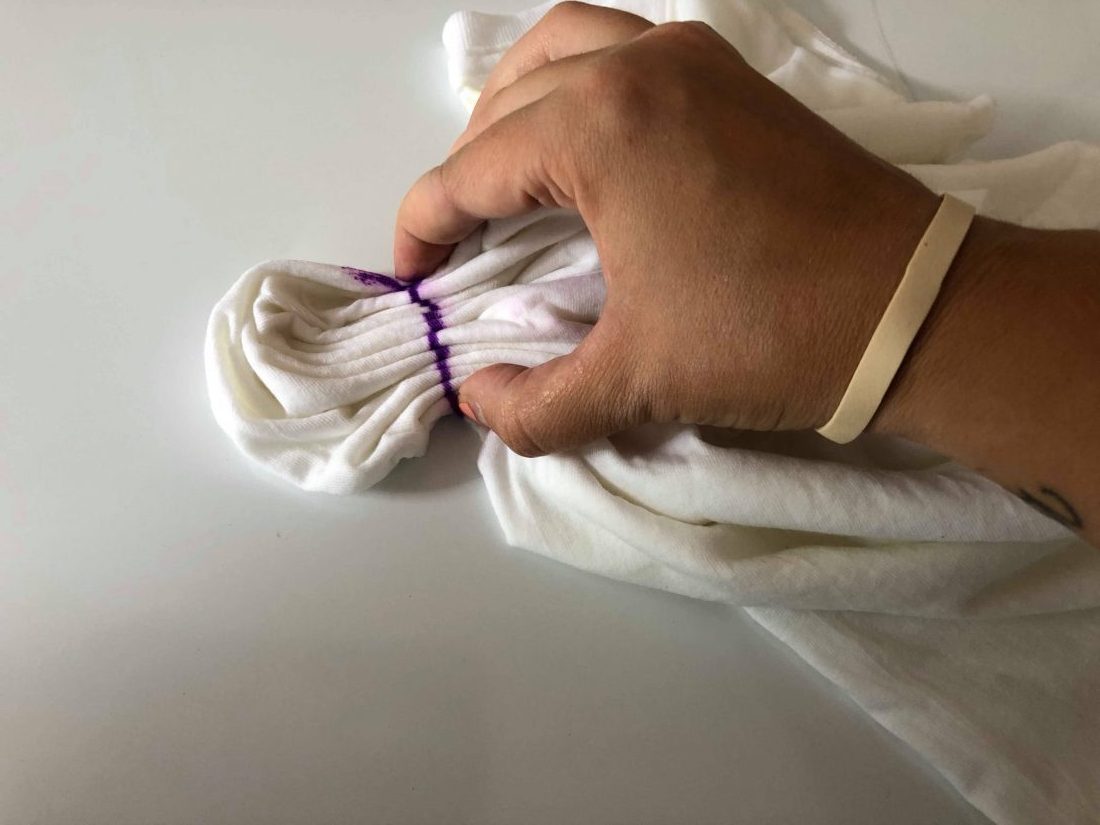
Begin folding your shirt along the line you drew. You may have to move your shirt around a little to get it all folded, but at the end, you want your line as straight as possible between your fingers. This line is the edge of your heart and youll want to tightly band it between your fingers. I used a zip tie for this part because I can get the zip tie extremely tight.
The specific colors I’m using for this project are Dharmas Raven Black, Hot Pink, Robin Egg Blue and Bright Yellow!
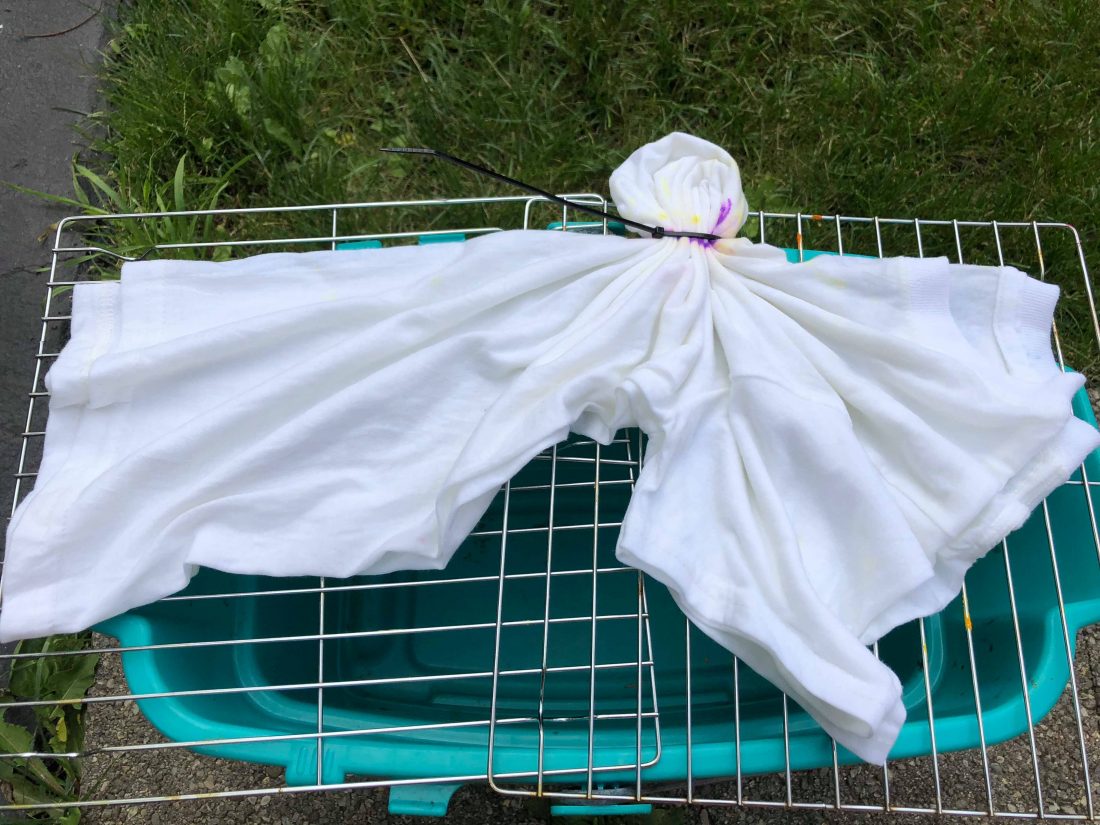
Now that we have the part of our shirt tied off, we can start dying!! For the Ice Dye, I have my shirt on a wire rack over a bucket. This allows the ice to melt and the water to drip into the bucket below, without messing up or running the colors.
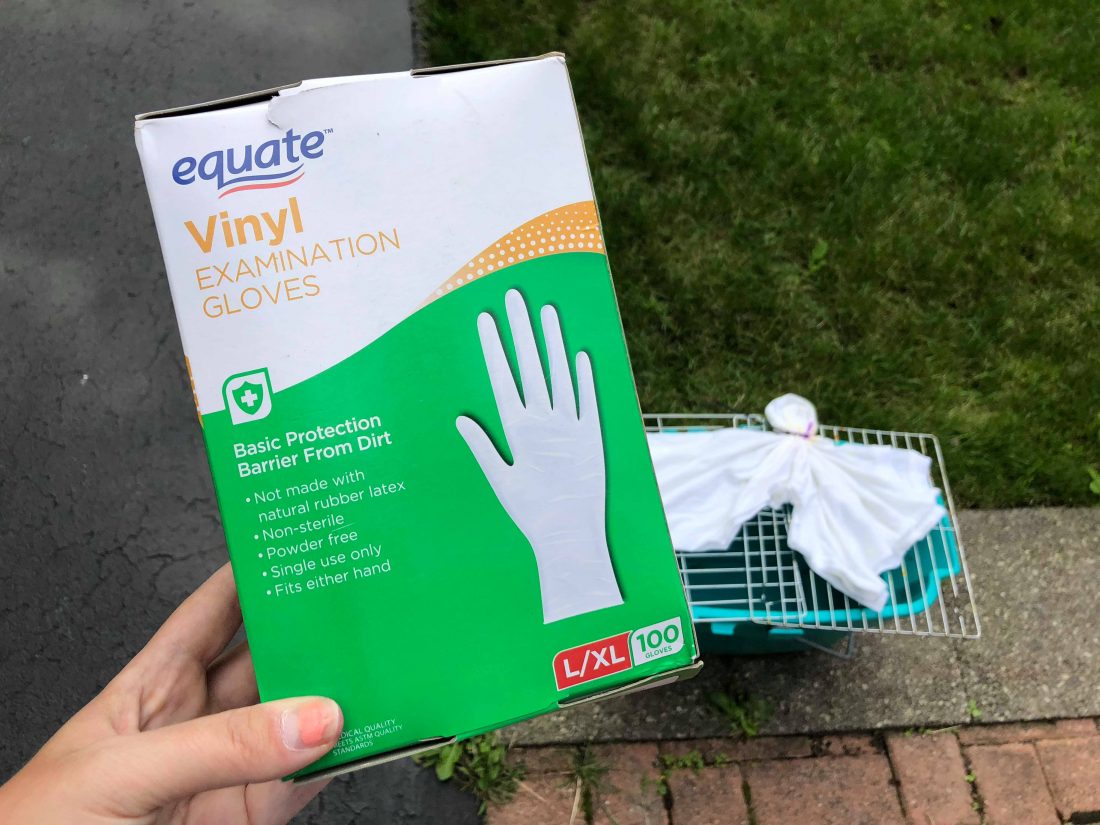
Put your gloves on now if you havent already!!
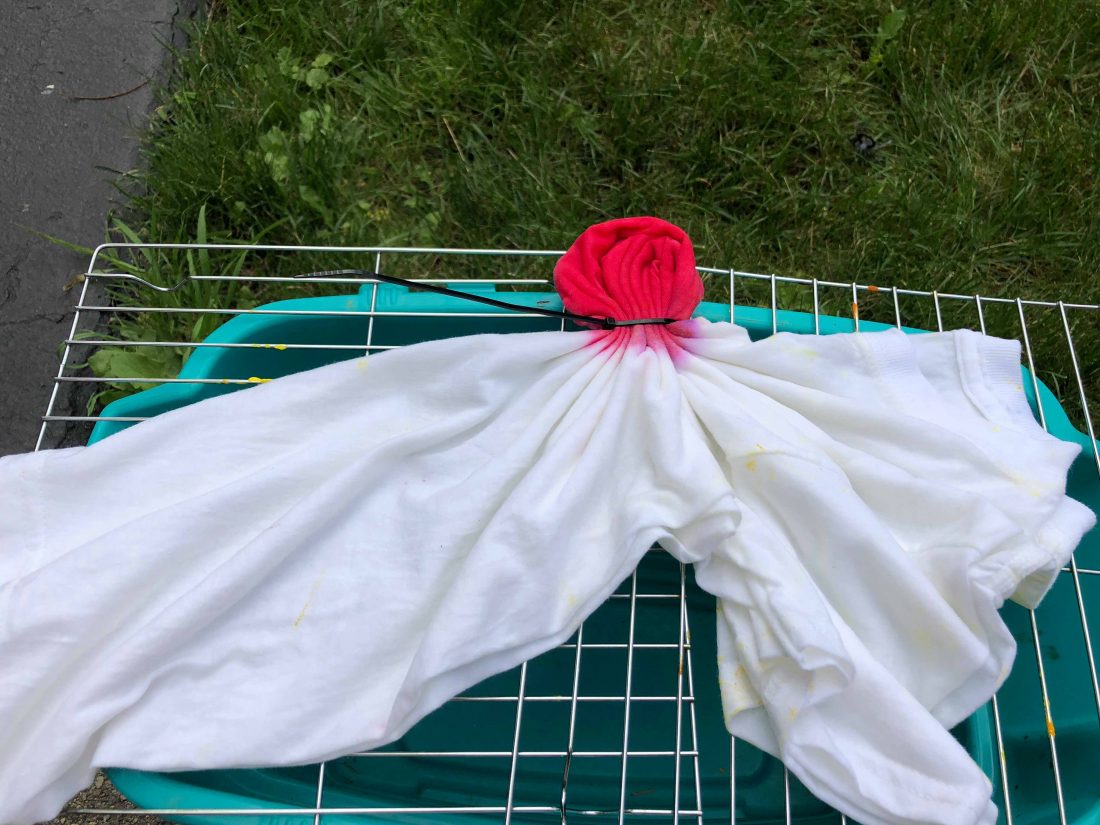
With my liquid dye in a bottle, I fully saturated the tied off section of my shirt. This heart will be pink!
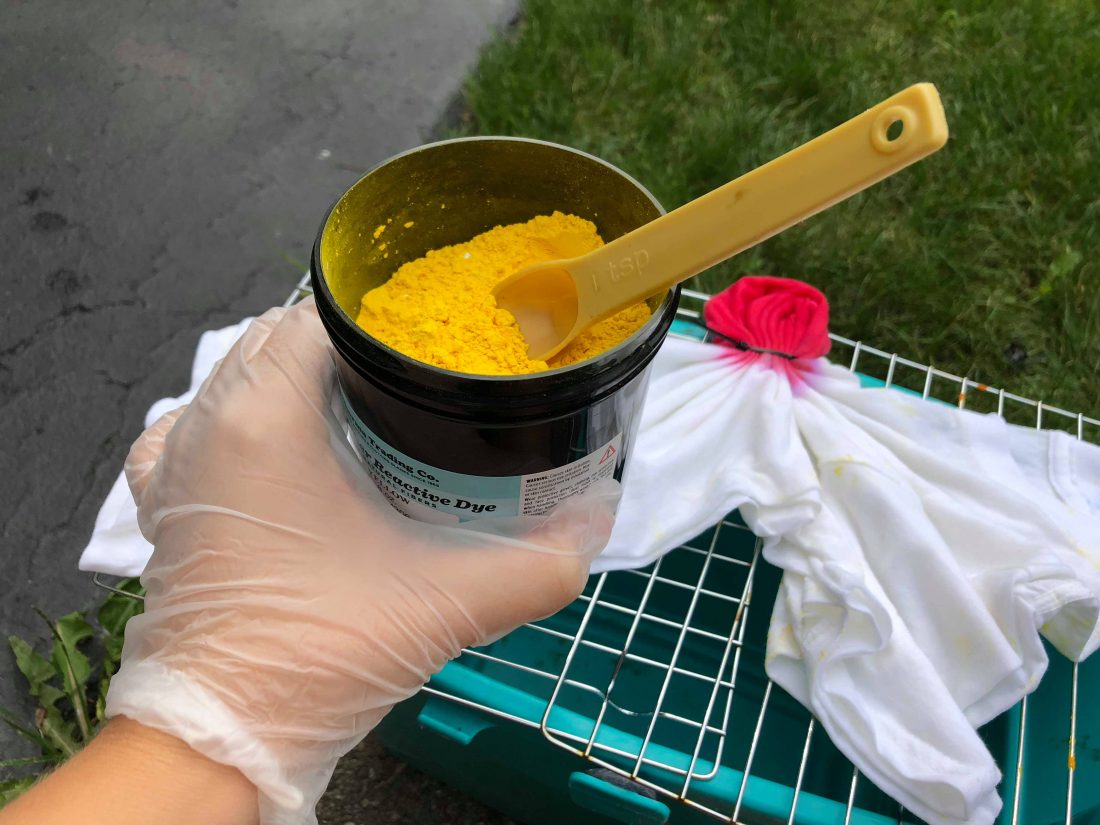
Time for the powder dye! It is recommended to have good ventilation and at least a paper mask on for this part. You do NOT want to breath this powder in. If you’re doing this method with your children, I would suggest doing this part for them.
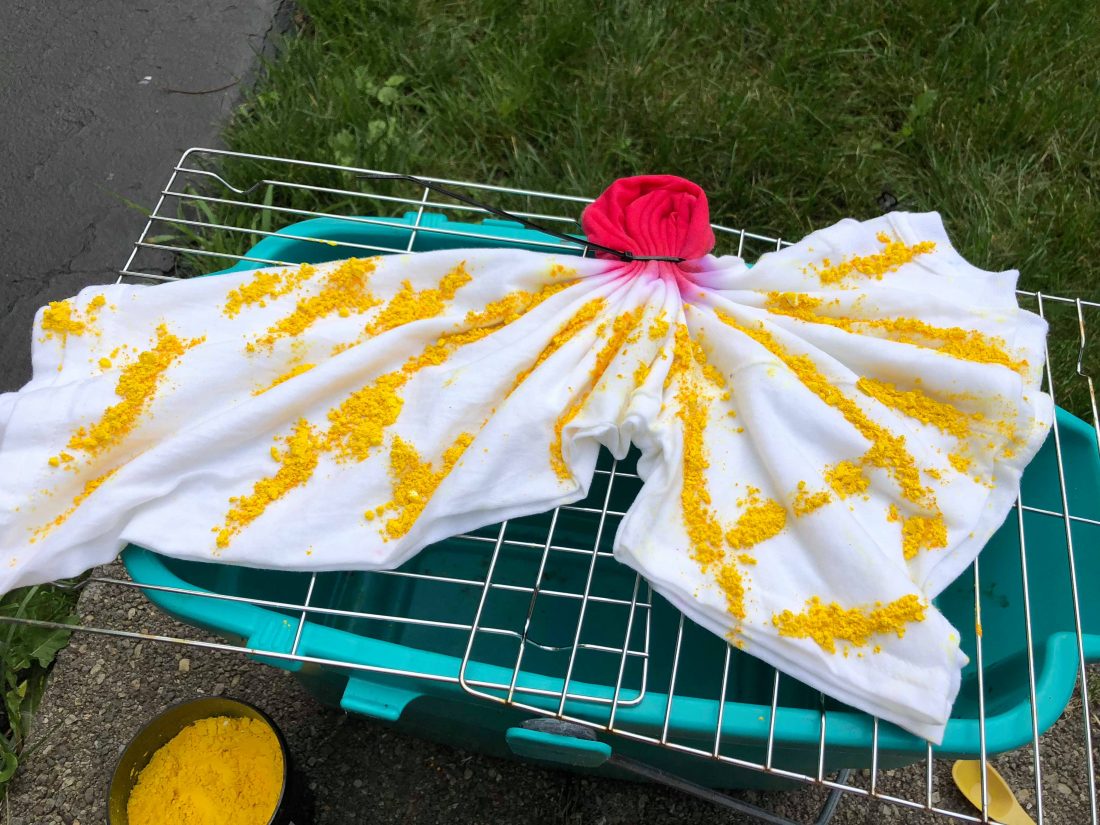
With my little teaspoon measuring spoon, I gently sprinkled some lines of my Yellow dye. Have fun with this part! It doesnt have to be perfect! Just know that the darker the color, the more itll bleed into the lighter colors, and the lighter the color, the more powder youll need to make sure that color stands out.
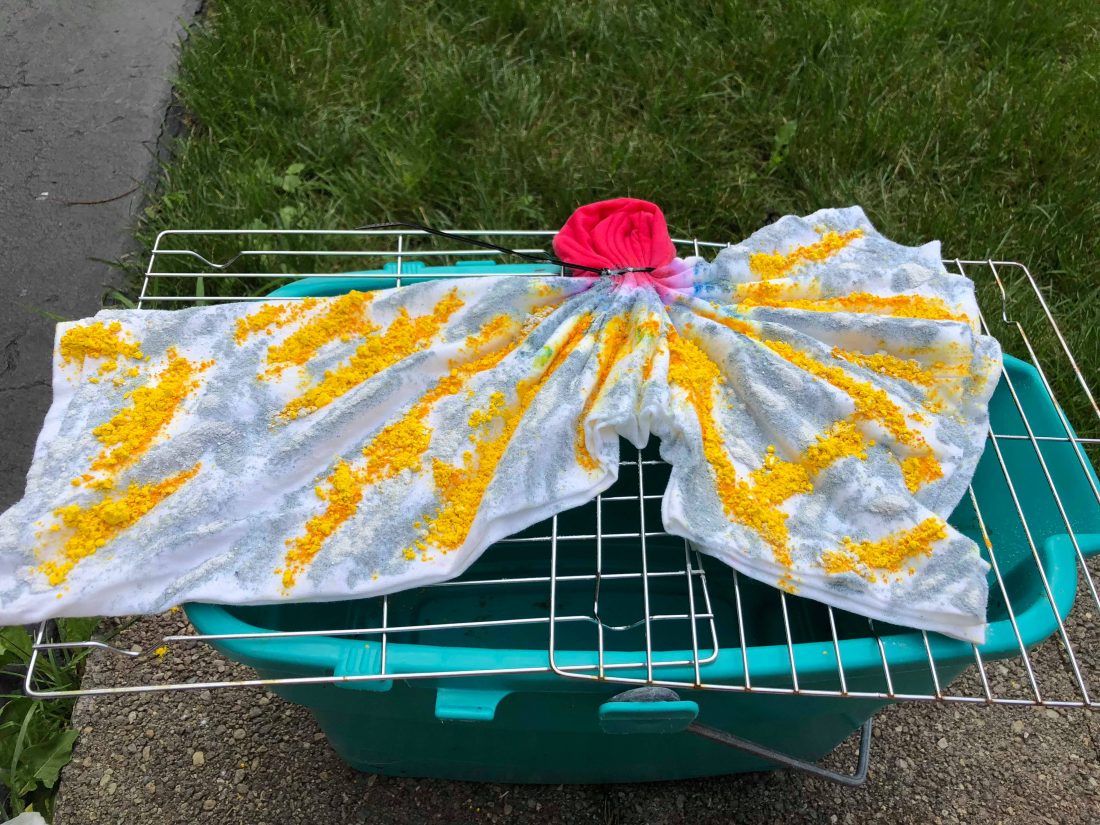
After the yellow, I sprinkled on my Robin Egg Blue!
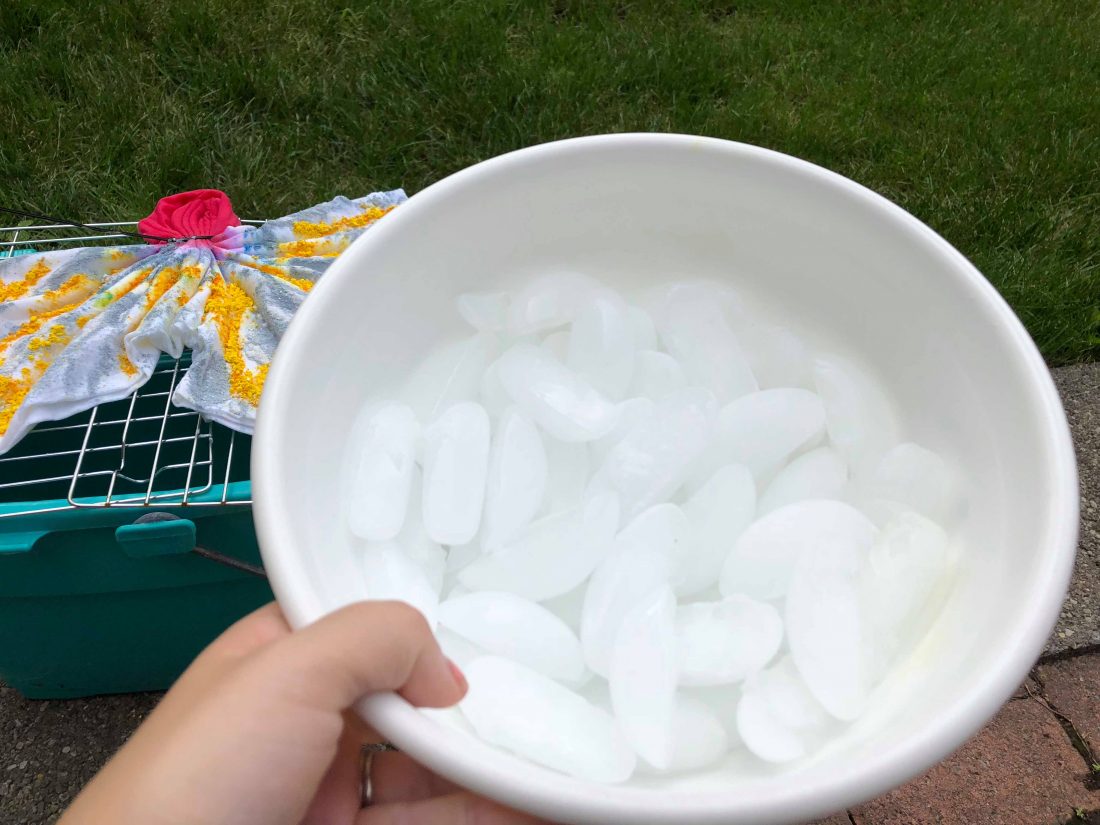
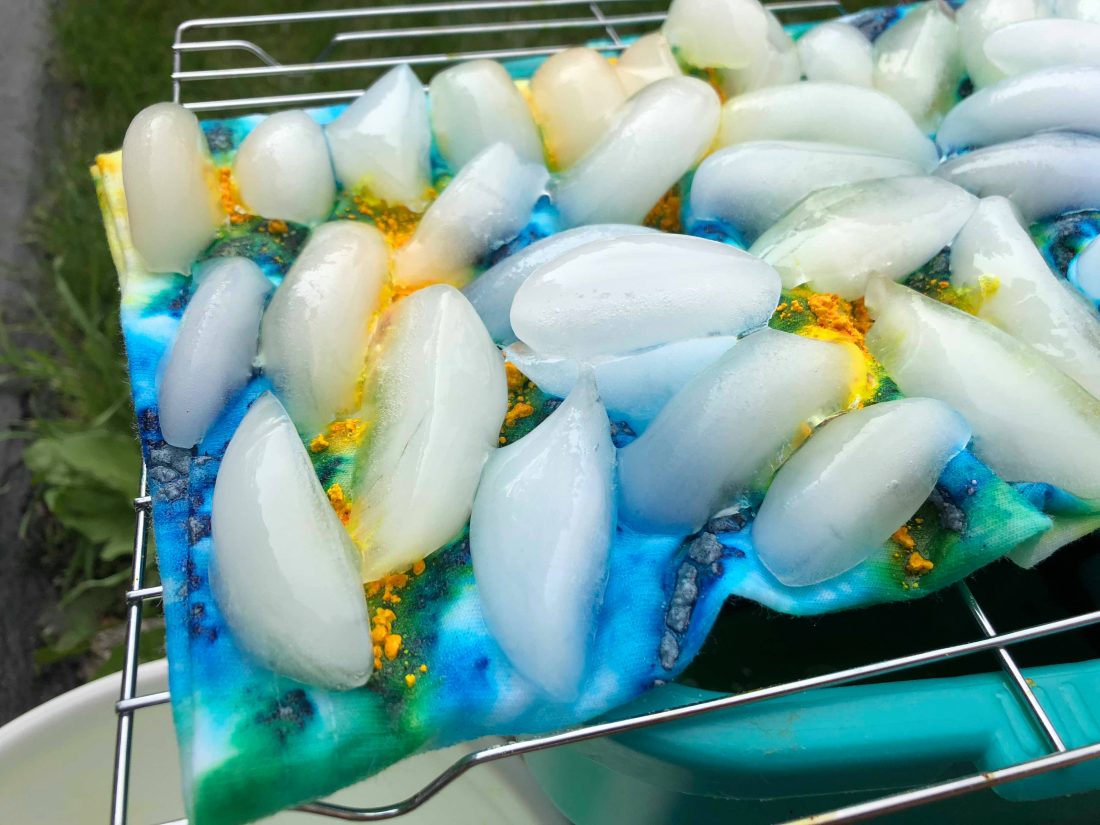
Time for the ice!!! Different sized and shapes of ice will create different patterns in your dye. My ice is just from my freezers ice maker, but really, any ice will do!
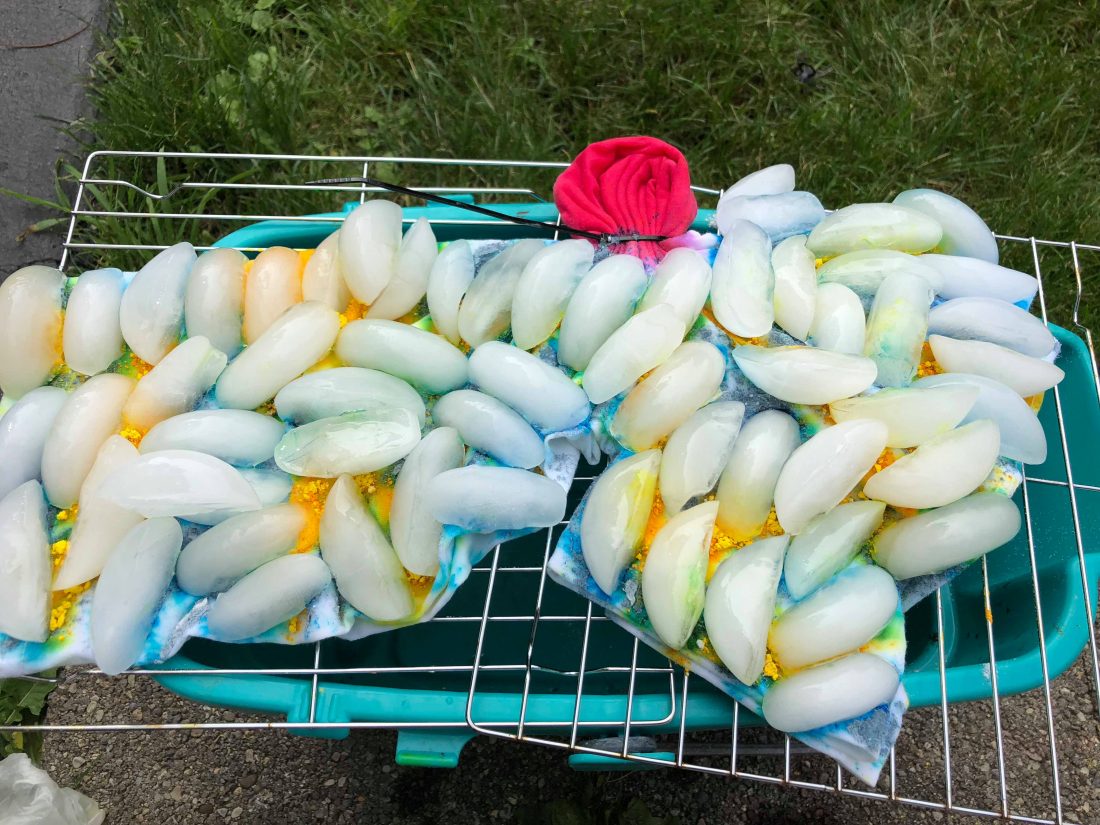
I placed my ice so I had almost every single spot covered. Too little ice and your colors may not get to the underside of your shirt, and too much ice, your color will be too diluted and washed out. This can take some experimenting, but really, any dye job looks awesome in the end!
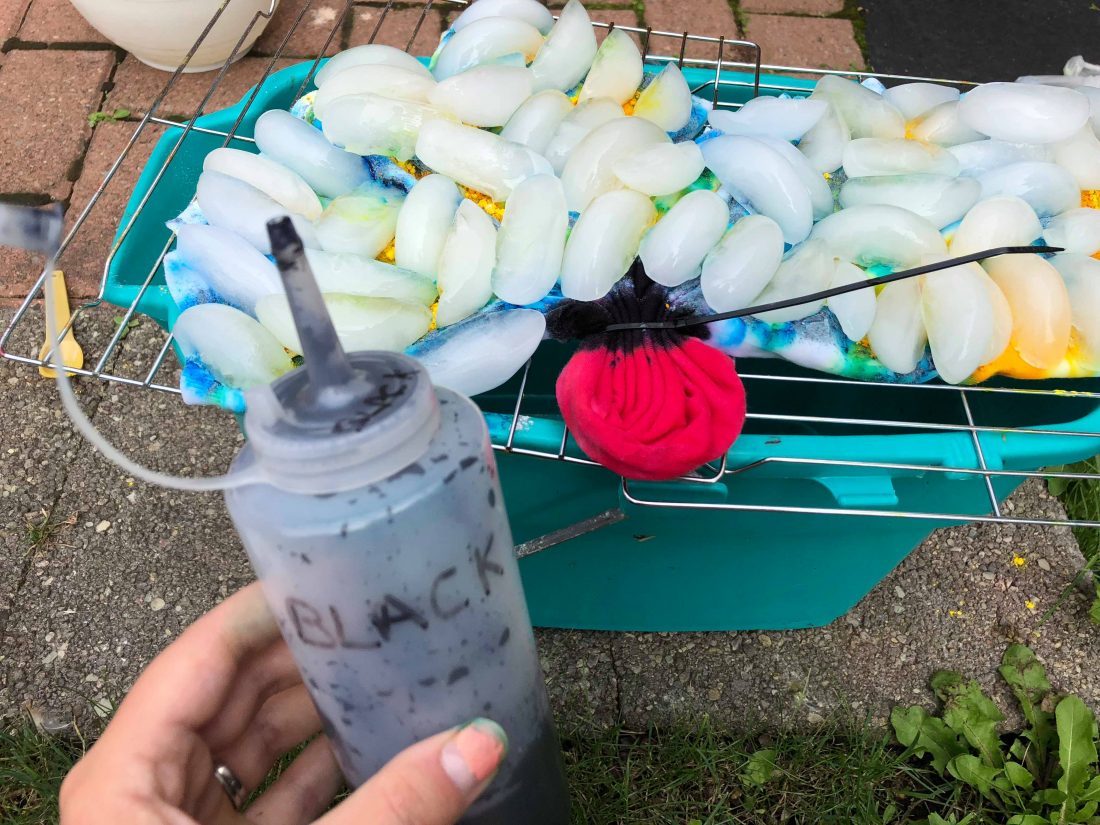
This part isnt exactly necessary, but I like to add a little depth and contrast to the center design and add some black ‘around’ the heart. To do this, I just add a line of liquid black dye right at the edge of the zip tie. The dye will bleed slightly into the pink heart, this is okay!
Waiting, waiting and more waiting! This is a tedious part.. its almost as bad as watching paint dry! Actually, it may be worse! On warmer days, this part may only take an hour, on cooler days, it can take a few hours! Just be patient.

Your ice is all melted, now what?! After my shirt looked about good to me, I took the remainder of the ice off. It wasnt much. What you see in the bottom left corner is left over ice from touching up a few spots along the way. Its okay to add more or take some away if you think it needs it! Remember, there is no right or wrong way to do this!
THIS is the hardest part, for me anyway! ….. WAITING. Waiting for your shirt to batch. This is probably THE most important step, and I promise it IS WORTH THE WAIT! Waiting a MINIMUM of 24 hours for your dye to set is ideal! Longer isn’t always better, since some dye colors will become ‘muddy’ looking when blended with other colors too long. 16-18 hours, okay.. but 24 is best! You really want your dye to SIT on the fabric and really soak in. My shirt was VERY saturated, so I did not feel it was needed, but typically I would wrap my shirt up in a garbage bag or plastic grocery bag so it stays nice and wet while batching. You want the fabric to remain wet through this whole 24 hours. Do not let it dry! If you find your fabric getting a little dry to the touch, you can use a spray bottle and spray some extra soda ash mixture on it. This wont hurt the shirt at all.
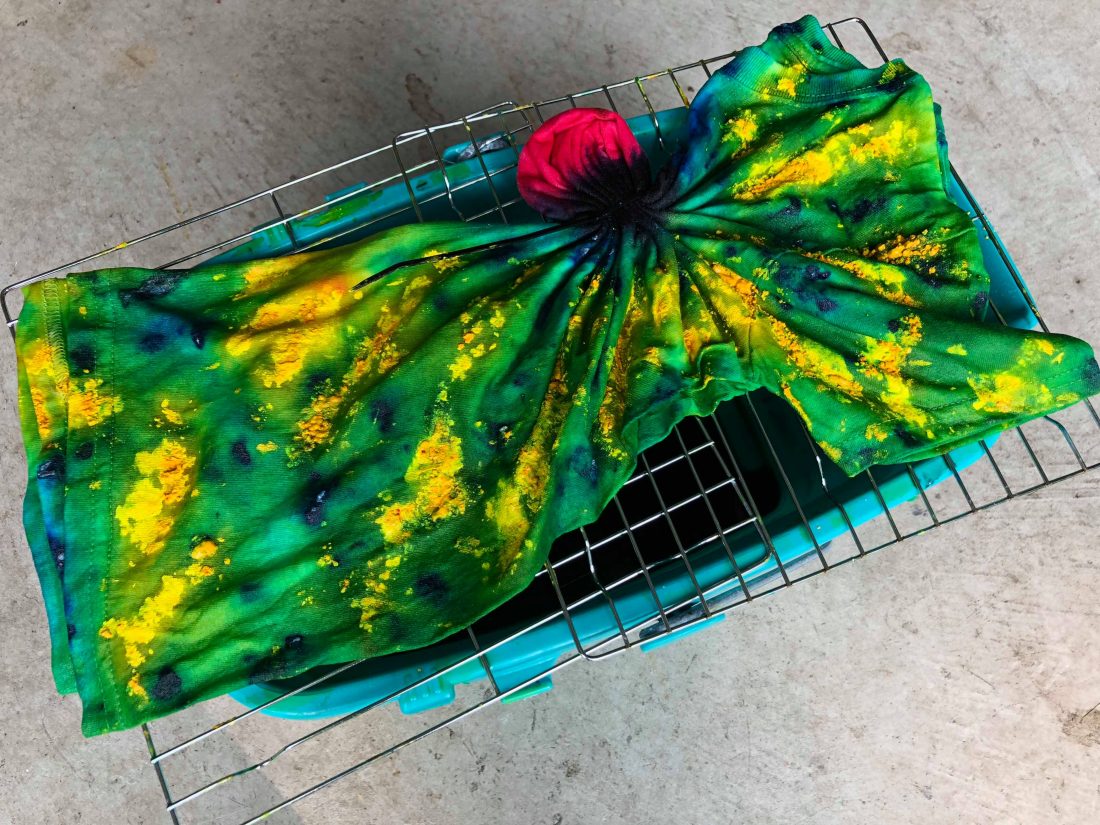
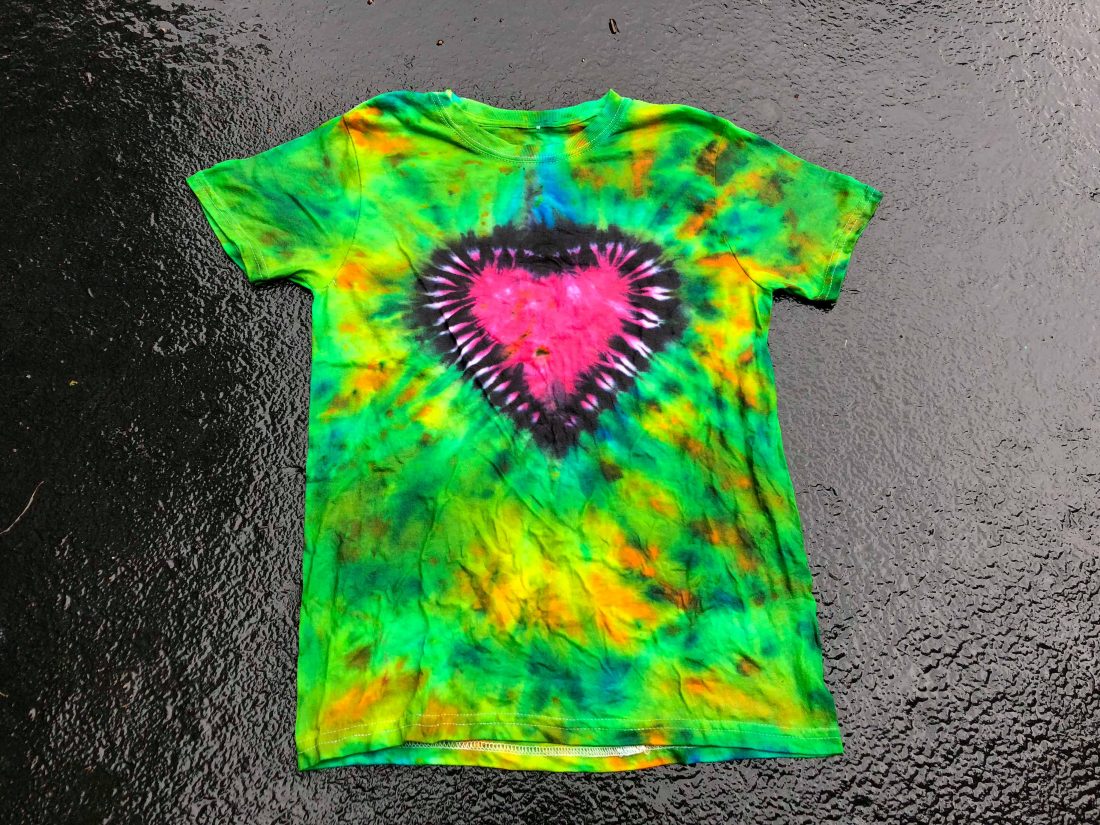
Finally! The wait is over! NOW what?! This is the most exciting part! You get to open up your shirt and see your design! Im pretty pleased with how this turned out. I wish there was a little bit more blue, but HEY… like I said earlier, its all about experimenting and having fun! I do love the ‘Earthy’ look to this!
Rinsing! Get ready to strengthen your hand and arm muscles! Rinsing isnt very fun, but it is very important in how this is done. Remember, your dye is still wet and it can bleed into any areas that are white. When rinsing, make sure youre not in an area that has anything dye shouldnt touch. I usually use my garden hose to start. You want to rinse first with COLD water. This first rinse will get all of the major surface dye off of your shirt. (I do recommend wearing gloves for this part, even the small amount of dye in the water can turn your hands funky colors) You want to rinse in the cold water, twisting, squeezing, folding until the water runs clear. Yes, this can take a while if you use a lot of dye like I do.
NEXT, you want to switch to a warm water rinse. You’ll start seeing more dye coming out of the shirt. This is okay! I promise all of your dye will not run out! You want as much of the loose dye out as possible. Keep rinsing until the warm water runs clear.
LASTLY, switch your water to hot water. Not hot enough to burn yourself, but as hot as you can handle. Again, more dye will come out. No need to worry!! Keep rinsing until the hot water runs clear.
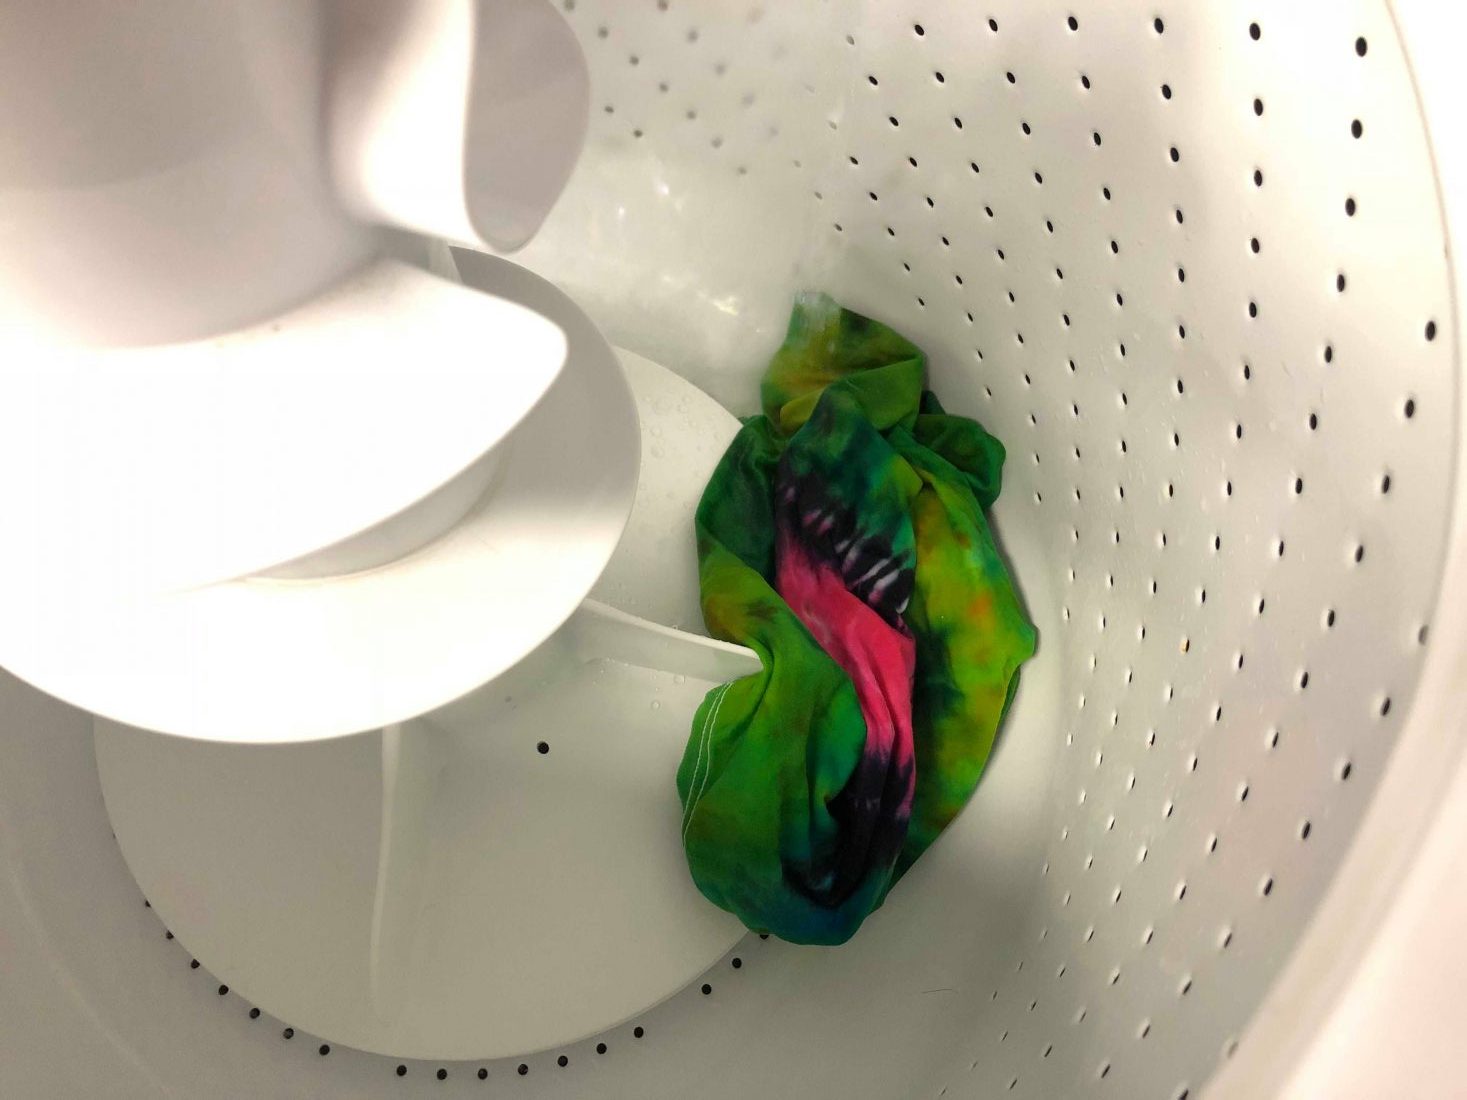
WE ARE ALMOST THERE!!!!! After the 3 step hand rinsing, you’ll want to toss your shirt in the washer, light or small load, and do one more rinse cycle. If you can open your washer while this is rinsing, you’ll see even more dye in the water! It does take a while to get it all out, but once the shirt is set, it’ll look great! Once this last rinse is done, now you can WASH your shirt. Any remaining loose dye particles will be barely noticeable at this point. Wash on a light load with just a tiny bit of detergent. This will also get the remaining soda ash out. After this is all done, you can dry in the dryer or hang dry!

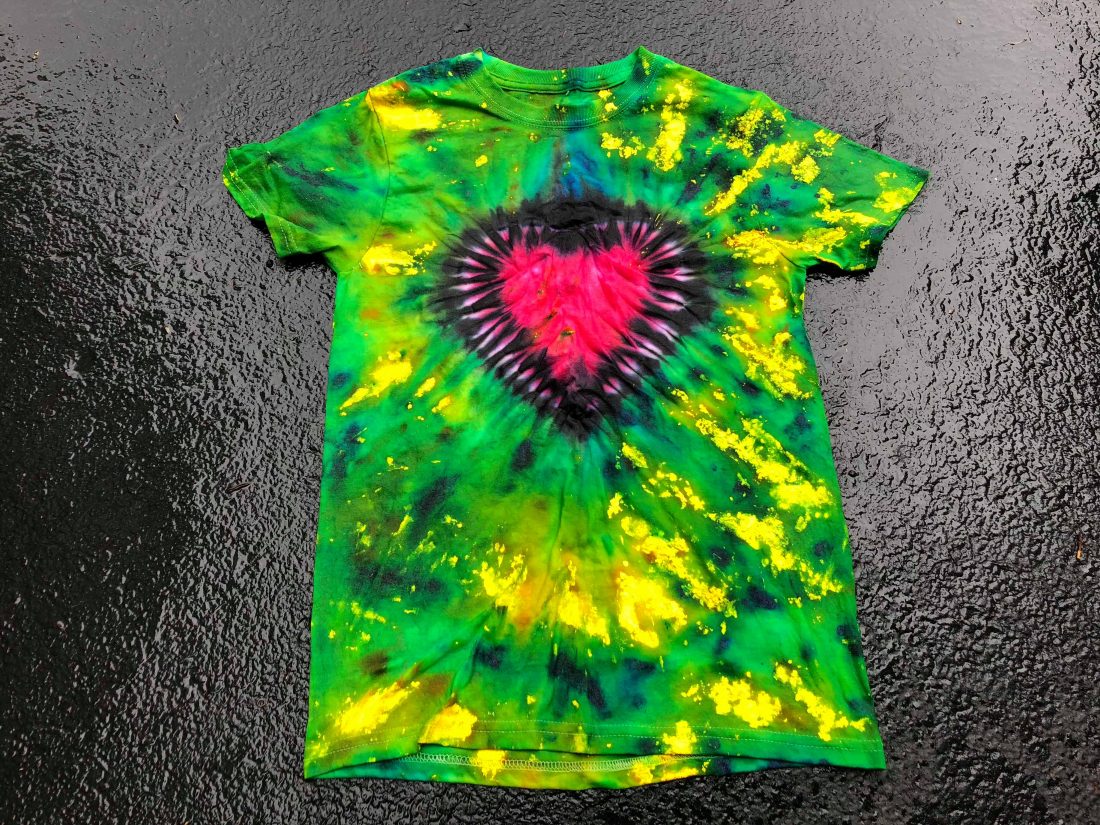
This was my final look of this shirt, after washing and drying! It seems like a lot of work, but its so spread out with the wait times that it really isnt that overwhelming. I hope you found these steps helpful and you have some tips to try your own tie dye!! Let us know in the comments how helpful these tips are. Have you tried your own tie dye?! Let us know! We would love to hear how it turned out for you!
Thank you for reading!
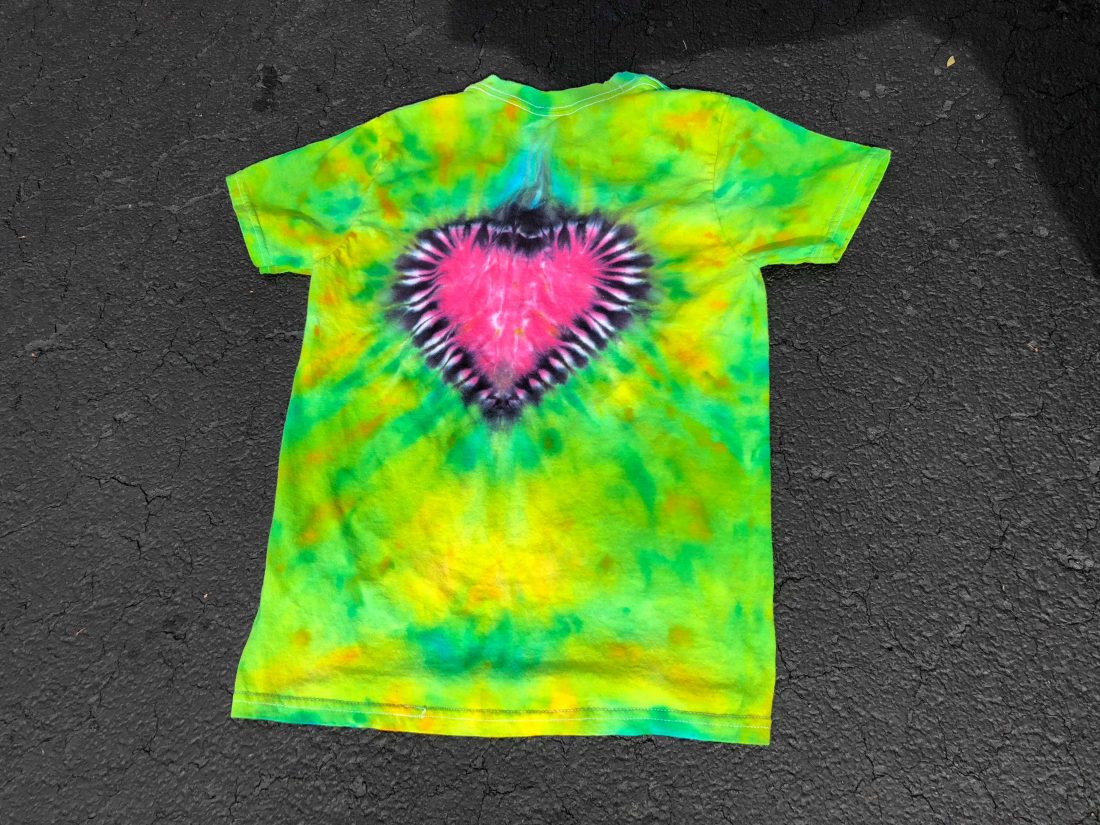
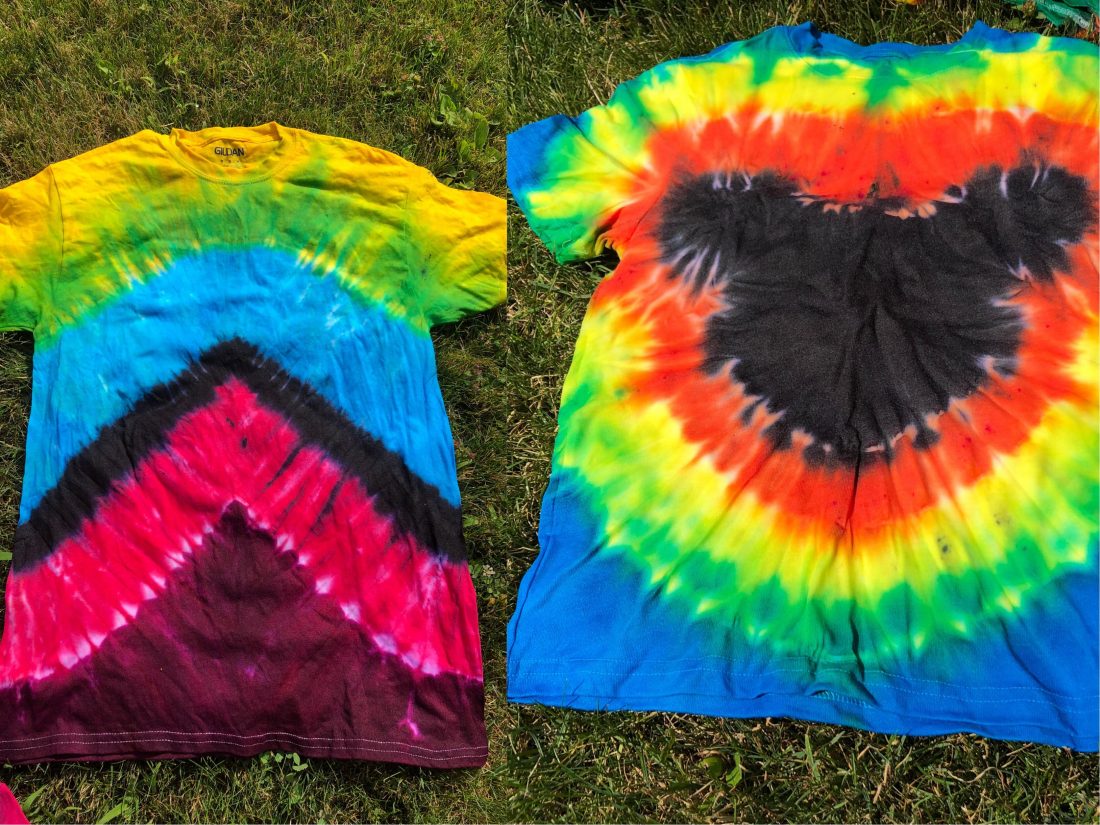
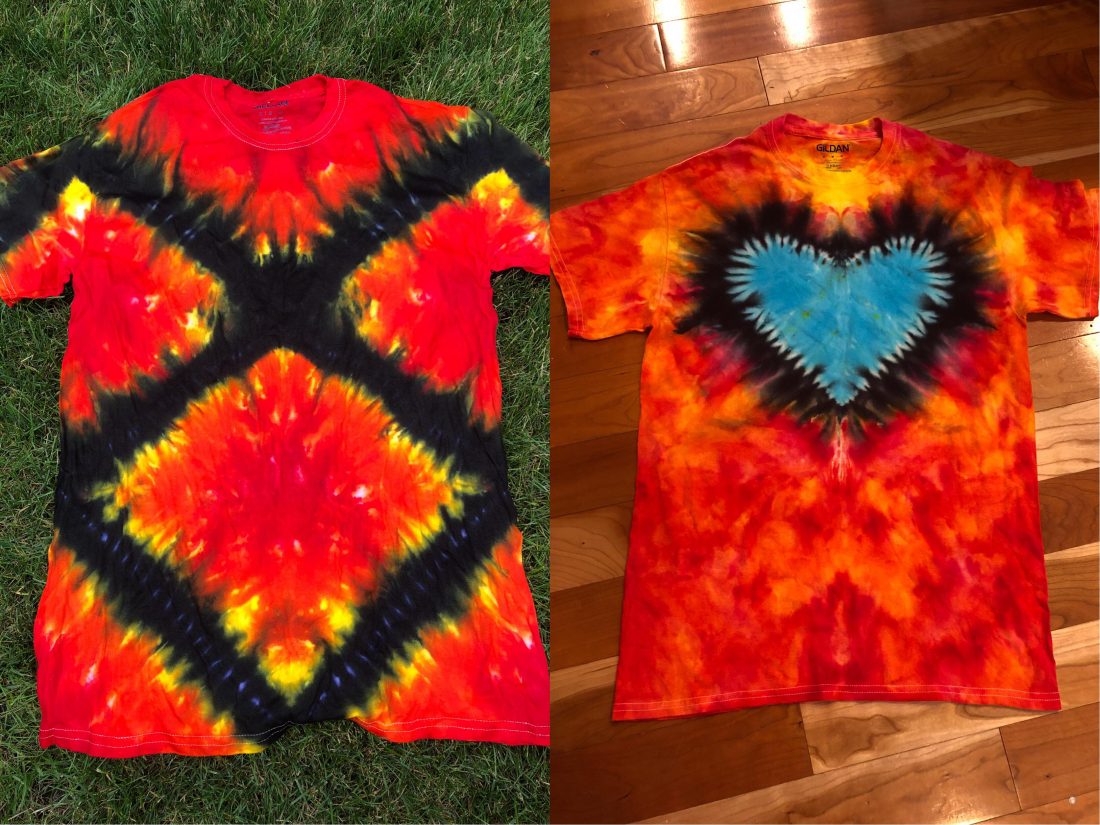
Here are a few more examples of shirts Ive done using the steps above!
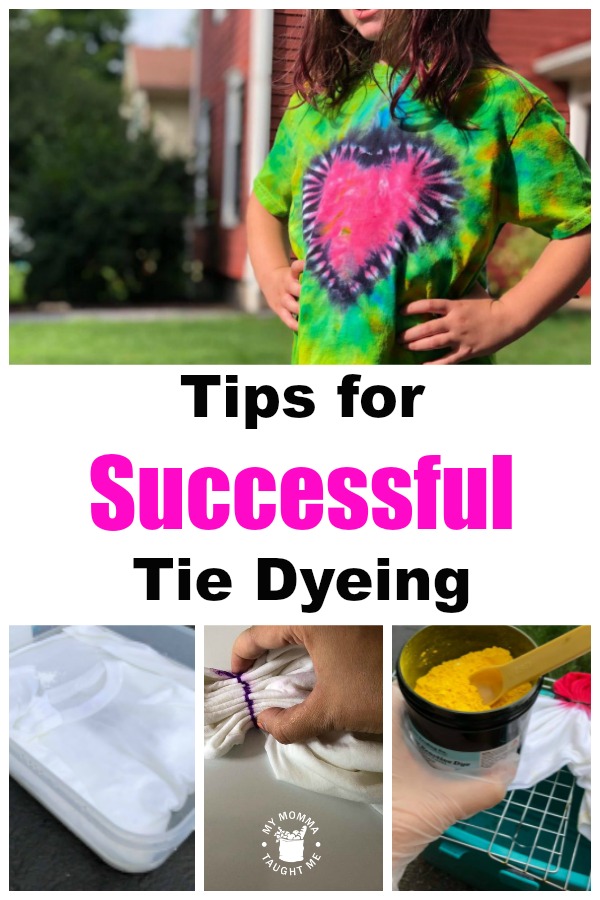
Consider Pinning for later!