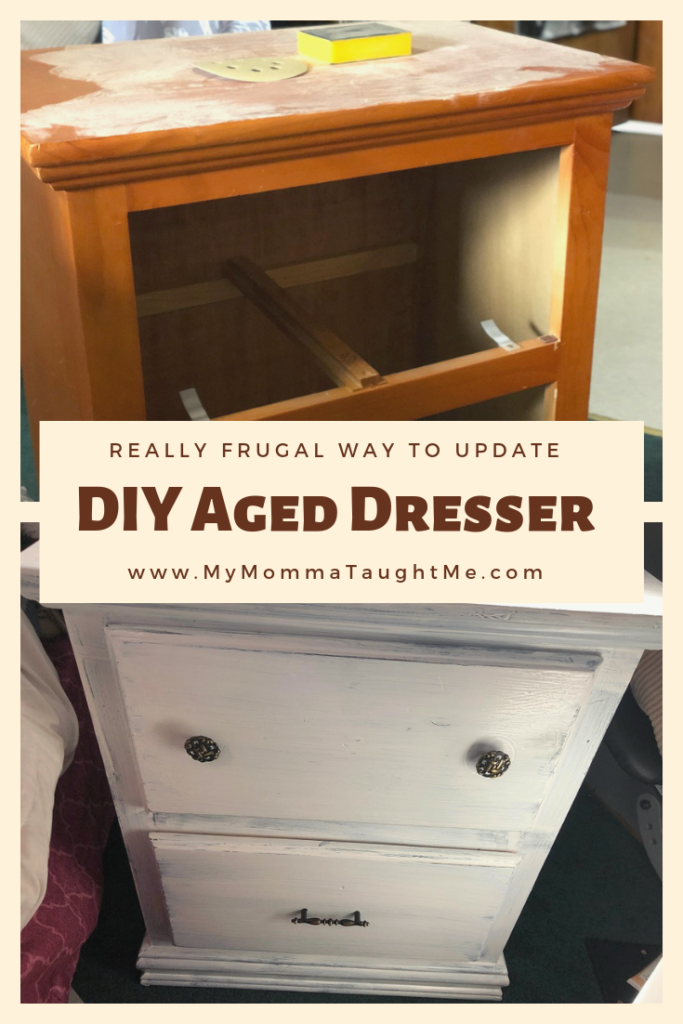
Very Frugal DIY Aged Dresser
I wanted to share with you all something frugal I did over the past weekend. My bedroom set is super old. We are talking over ten years and as you can see a bit out dated. I’ve been wanting something new and fresh for our bedroom, especially since we just painted the room. I’ve have looked around at places like furniture stores and even wayfair, but the prices made me second guess my decision. So I decided I was going to paint my bedroom night stand dressers instead. I wanted to share with you what I did to spruce up my set for under $20.

First up we had to sand them down a bit. This is a process that I was not looking forward to and tried to get out of but my husband insisted. So we sanded the dresser down. Most of you, like myself, probably have sand paper handy at home. So that was no extra expense for us really.
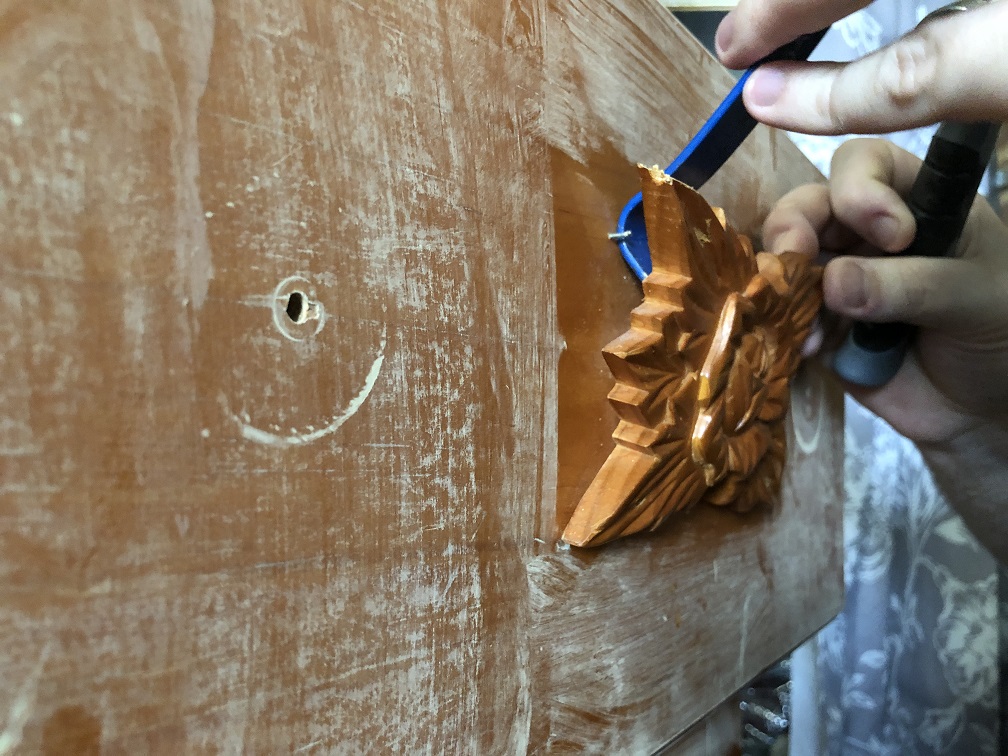
That wooden accent in the front….ugh. So happy I decided to go for it and have my husband pop it off. Thankfully it didn’t leave any marks behind. We took off what was left of the hardware as well.
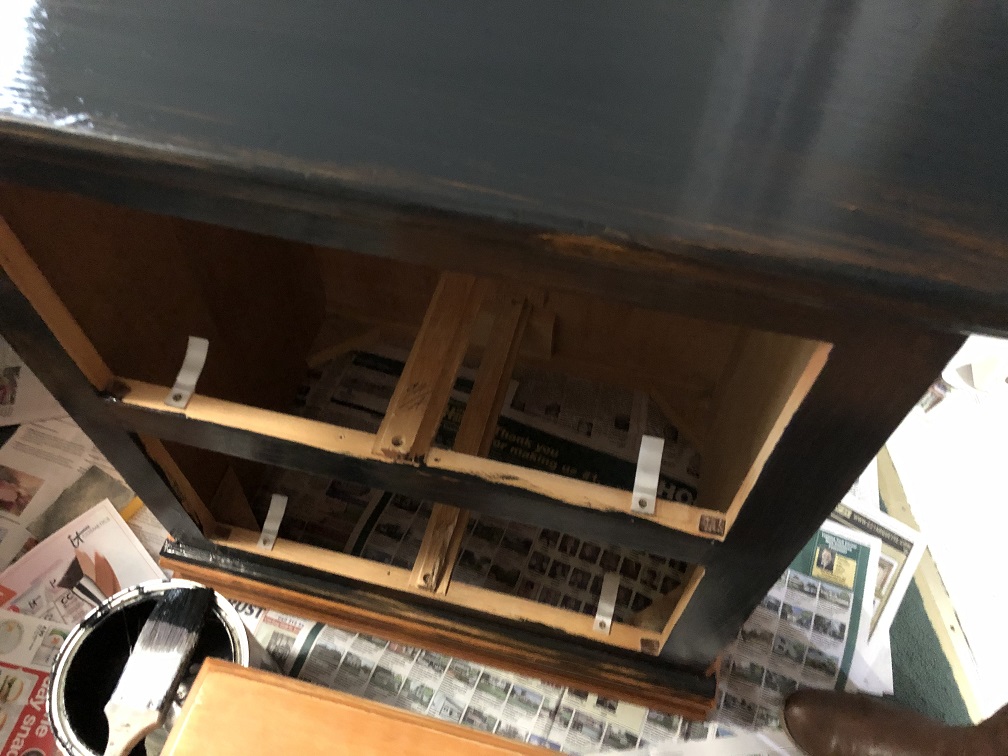
Finally it was time to start painting. I knew I wanted white wash sort of look for my dressers but I didn’t want that bright wood color that they were to be showing through. So I decided to try painting a light layer of black first. Which worked out great since I had a bucket of it already at home (I may have painted my vanity room black…lol). If you don’t have black and white paint at home, really you can find small quarts for low price at Walmart or any place that sells paint. These are great colors that can be re used too if you have any left over. It really doesn’t take a lot of paint for these size dressers.
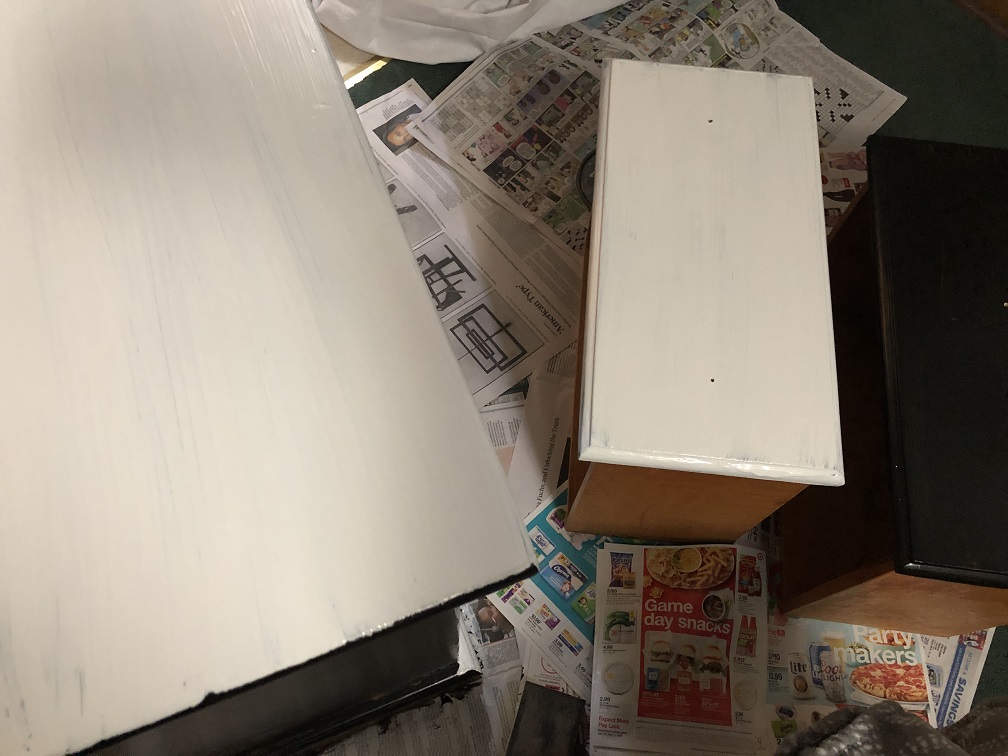
After the black paint dried I added a layer of white paint. I didn’t do a very thick layer. I wanted to be able to see that darkness from the black paint pop through here and there. Sort of to give it that weathered or aged look I guess. I went through and sanded the edges and spots I felt needed it to make it pop a little more.
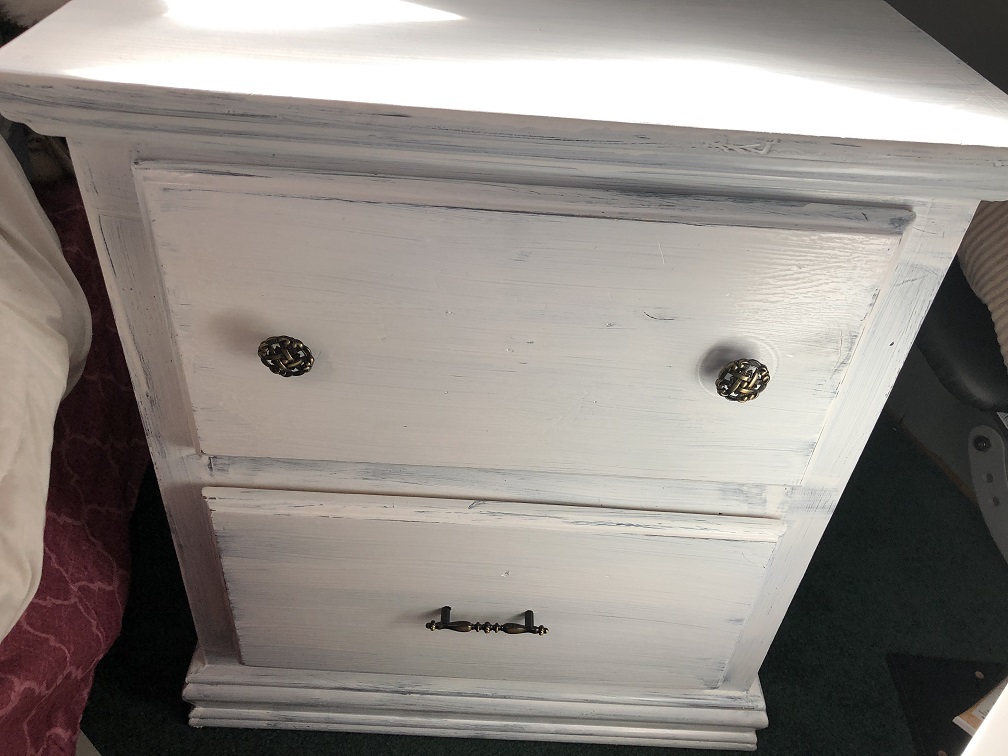
We found all new hardware at Lowe’s for under $2.00 a piece. I was super happy to get new ones on. The other ones were broke and missing parts as well. Even though it didn’t com e out exactly the way I was picturing in my head…I am happy for the cost of it all. I think I just wanted less brush strokes, but in my defense I was expecting to be able to sand it some more and see less of those. Like I mentioned…sanding is not my favorite!
I think I may want to eventually put a polyurethane coat on it. At this time I left it as is. I like the aged scuffed look so to me it’s not a big deal if it gets any more banged up.
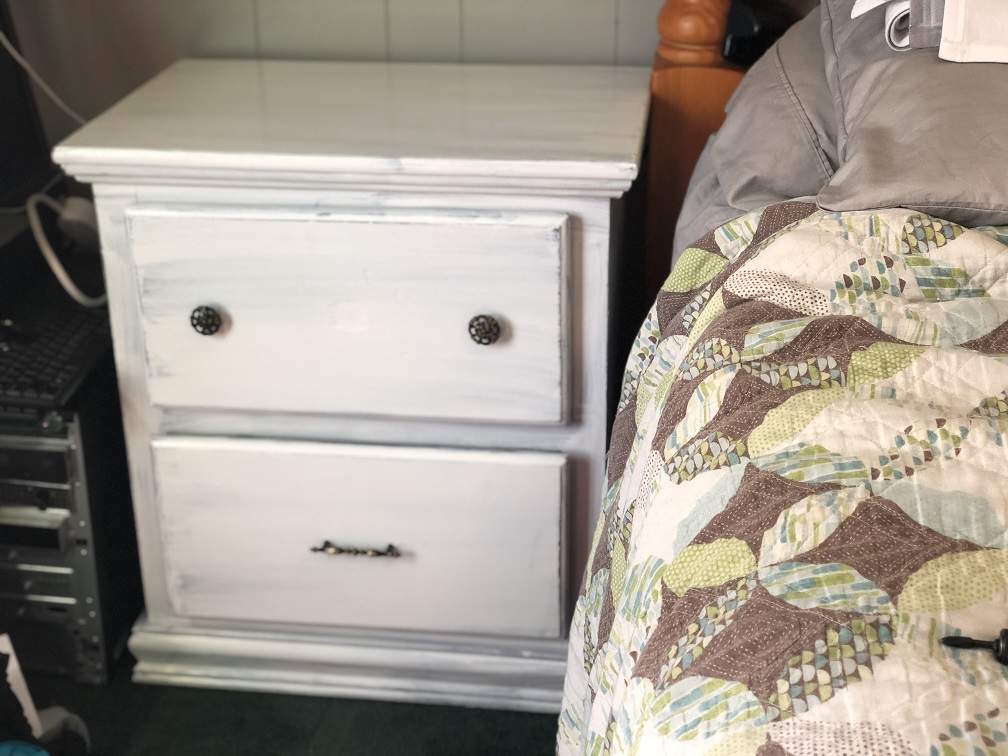
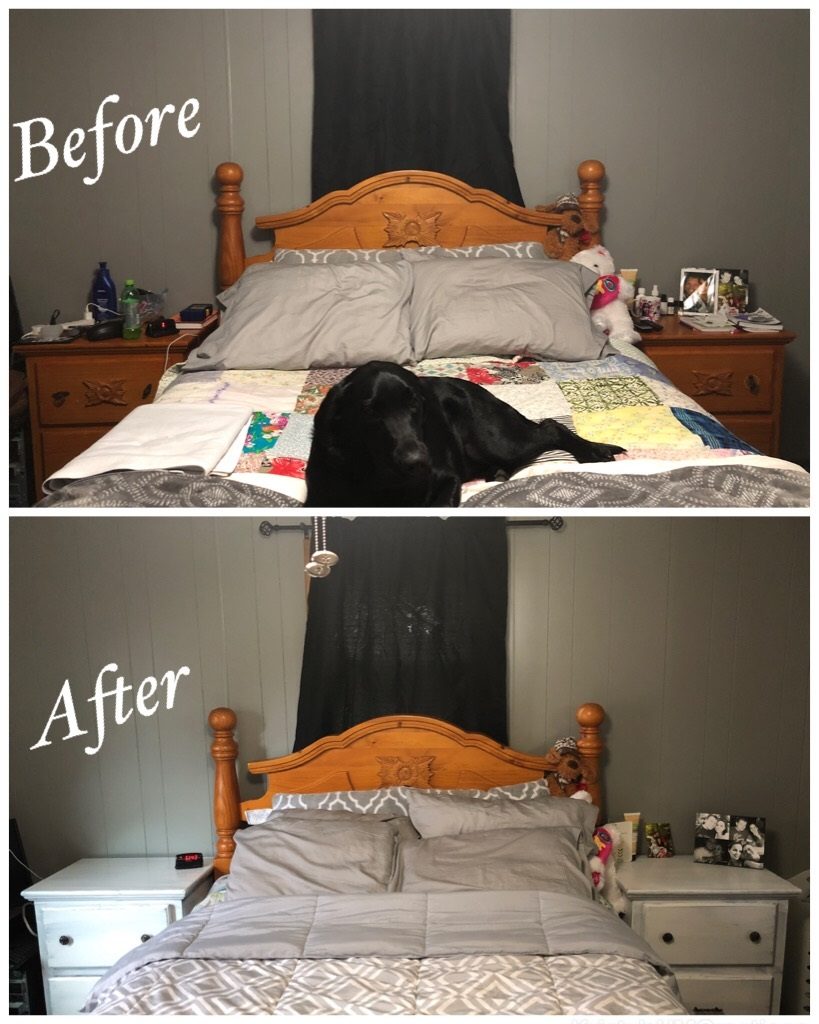
Here is the final look. What do you think?? Sorry the picture is not the best… apparently it focused on my bed instead. But I think you get the picture. Let us know in the comments below if you have ever repainted any dressers and how they turned out. This was my first time so I’d love to hear any tips you may have!