How to Set up a Homeschool Room
Being homeschooled you may want a special place or even a whole room dedicated to work. Of course many times you may find other areas like the kitchen table, couch, or even outside to be your work space. But nonetheless you may need a room dedicated. I’m going to share with you my tips on creating a nice work space with out having to spend a fortune. I’m going to share some tips to help you figure out How to Set up a Homeschool Room. Some of the tips are from my previous homeschool room, and some are from the newest room we have set up after we built the addition onto our home.
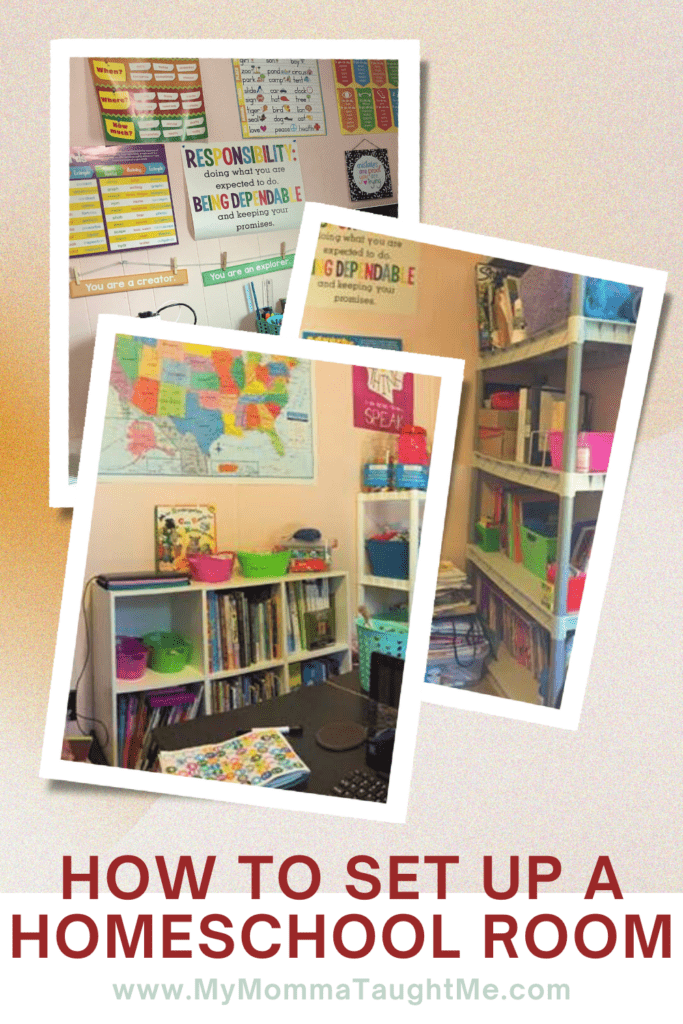
Setting Up the Classroom
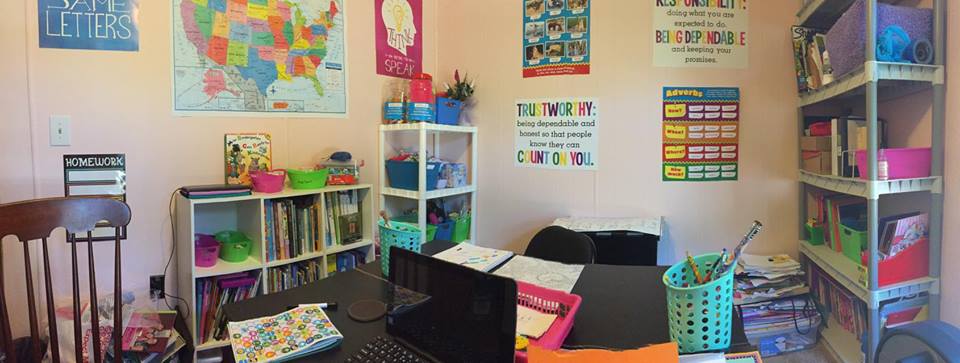
First you want to choose the space you can dedicate to the classroom. We choose the spare bedroom where all the extras found their way in to. I wanted to go all out. We rent our home, but we still do our own improvements when needed. So I wanted a fresh coat of paint and a new carpet since we were gonna be in there daily now. Now you don’t have to go all out like we did, but I am sharing what we did here. So after all that was done we had to make room and find places for everything in the room. Currently there is still a chest freezer in that room because we have no other space for it. We make due, and you may have to as well if need be. The more kids you have, the more room you may need and more creative you may need to get.
You want to try to create space for different areas depending on your room or how you run your school. You may want a craft station, a reading station, a science station, etc. If you have the room – go for it! We are tight on space so I have to put things where I can. Do what works for you!
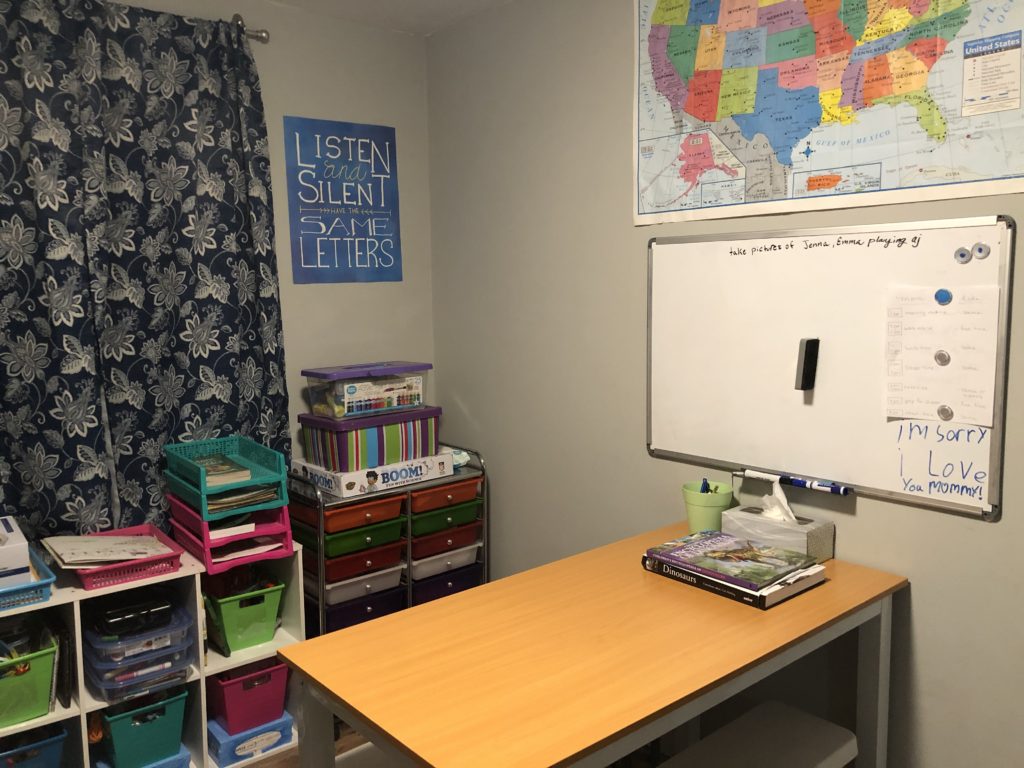
UPDATE: We have a new room shown in image below! It definitely was a lot easier to create our school room from scratch then in and existing room filled with other stuff.
Decorating the Walls
Now this is the fun part I think. I love heading to the dollar store to see what items I can find. You can really find a lot of great items to hand on the walls. I used a few motivational posters and a few educational ones. These came in packs of 2 or 3 at the dollar store. I even found a map of the USA there! I was so happy for that find. You can also decorate with calendars, list of tasks to do, and more.
Hang the kids artwork or projects on the walls! Pretty easy way to decorate. There are so many possibilities when it comes to decorating the walls.
Buying Materials
You need items for your school room. One thing I knew I wanted was a desk to work at with at least one drawer. I searched and searched for cheap small desks that were not too bulky. So Walmart was the winner for me. For my desk I purchased the Mainstays Student Desk. For the kids desks I purchased the Mainstays Writing Table with one drawer. It did take some thinking on how to put them in our small room. You can always use some tables you have or what ever works for you.
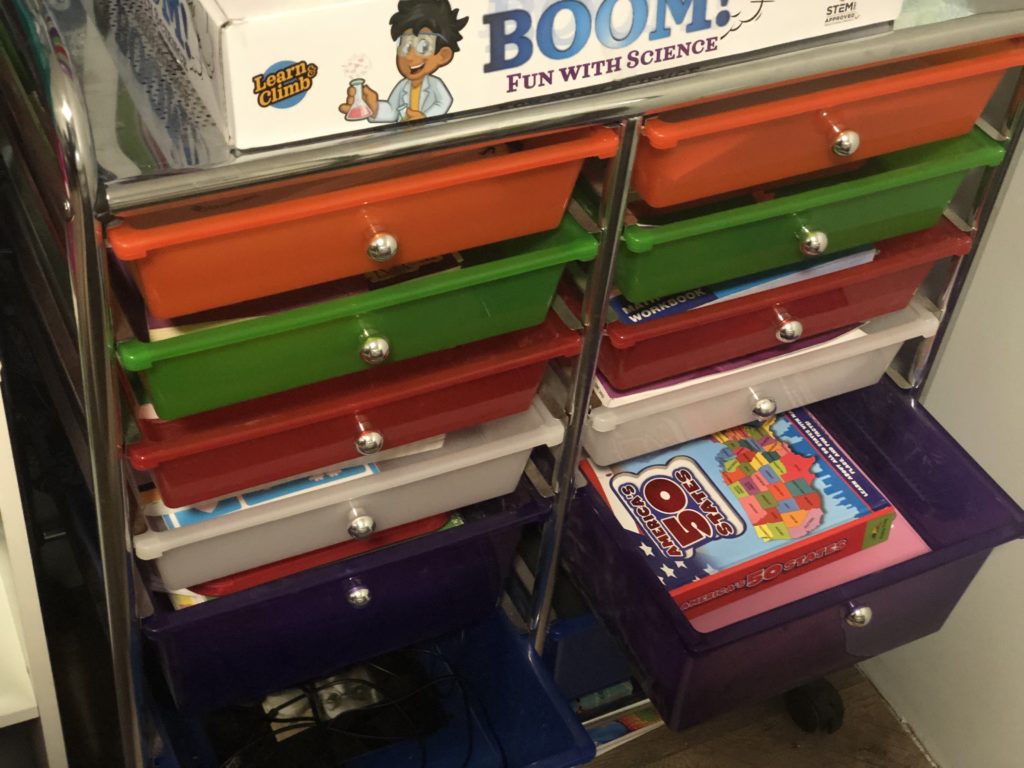
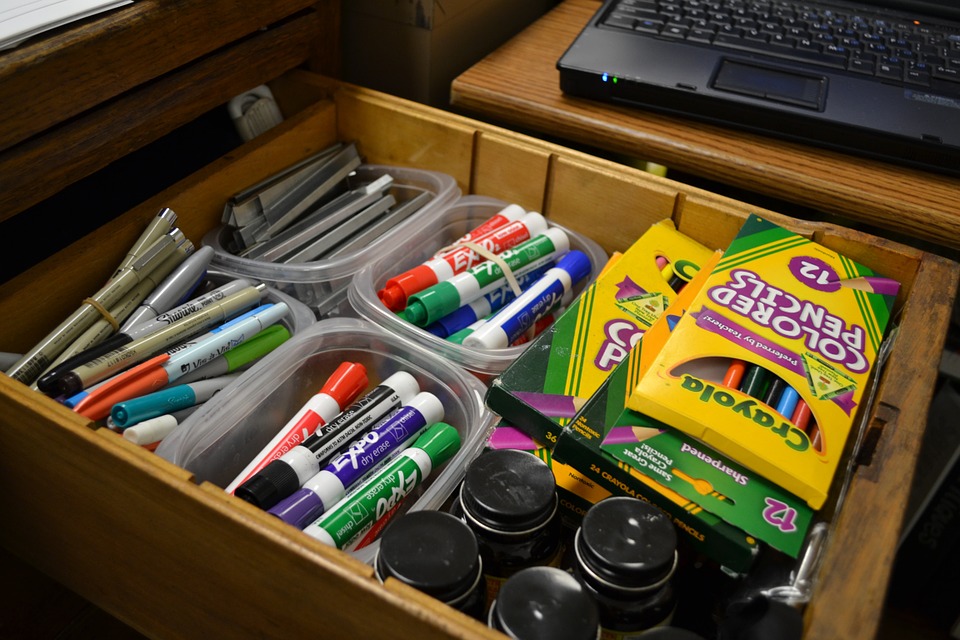
I wanted bins to store our material in. So again, I shopped the dollar tree. there are so many small bins you can find there and for only $1.00! I use them to store writing utensils, crafts, glue, etc. They work perfect on the shelves I have too. They really have some nice options for organizing.
Don’t forget to re-use items around the house! You can re-use cereal boxes by cutting them down and using them to store notebooks in. You could re-use small boxes for crayons. Get creative and shoot… you can even make it into a project for the kids too!
Teacher Area
I do not have the largest room to work with. You will want an area for all your teacher stuff. That would be all your books needed, materials, extra pens, notebooks, etc. I use a cheap plastic shelf that I previously used for stockpile items from couponing. This works great for holding my materials. That way I know where everything is when I need it.
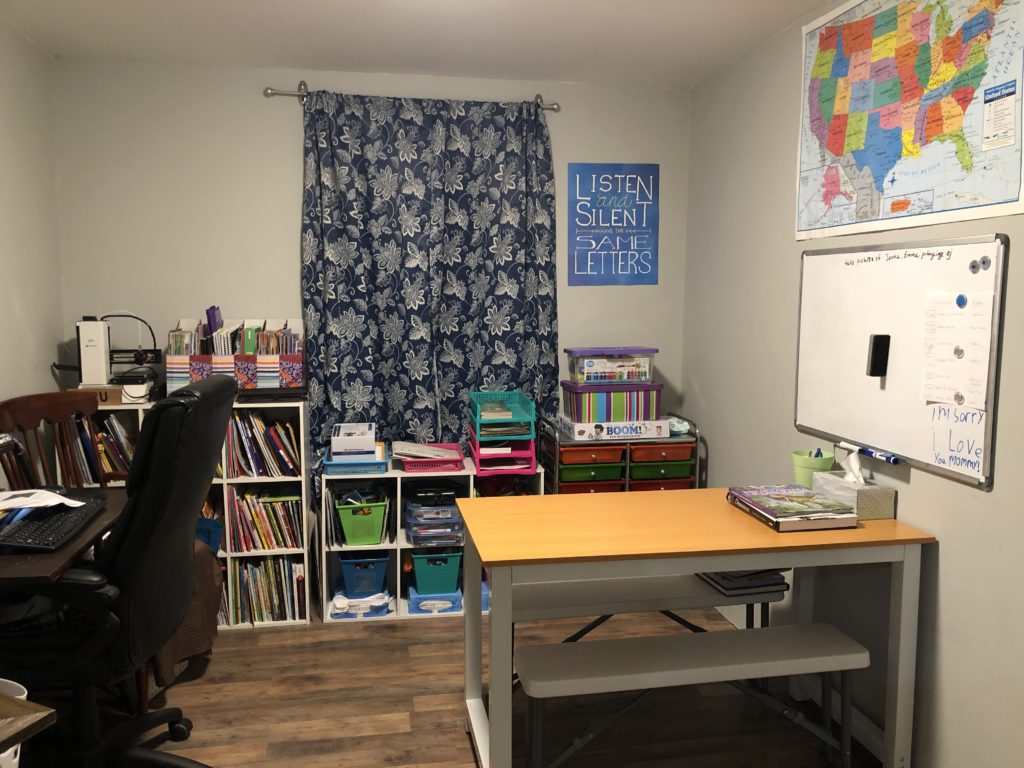
Check out my favorite organizing items I use for my homeschool room here.
School Area
We wanted an area where the kids could go and access there own work books. So I used a 9 cubicle shelf to hold all the books. I have two kids so I divided them in half mostly and shared down the middle. On one side on the top goes all the books for the oldest, and on the other side all the books for the youngest. That includes work books, coloring books, and reading books. The middle has a combination along with boxes of crayons and markers. On the tops I used two small bins that fit sheets of paper perfectly in. We use those for the kids to put their daily work in when they are done so I can check it then or later. At the end of the month they all get put into folders and filed away. I also used a 6 cubicle shelf we had previously for other items like crafting materials, paper, utensils and such utilizing the Dollar Tree organization bins I picked up.
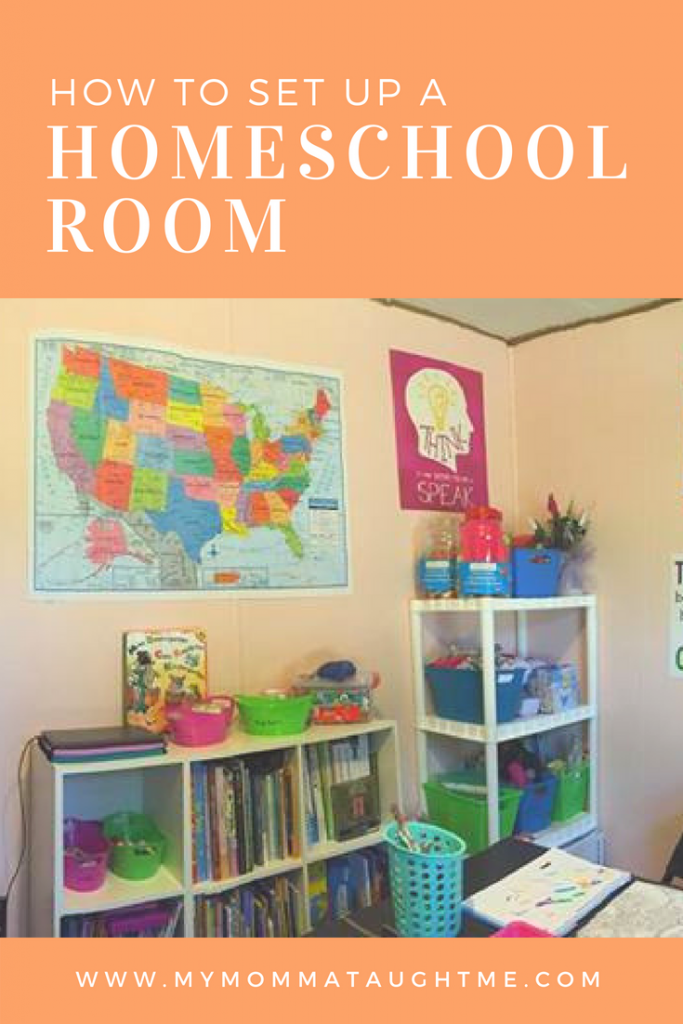
If setting up a dedicated homeschooling room sounds difficult or unachievable in your home… no worry! Check out my tips on how you can still have a successful homeschooling home with out a homeschool room here.
Before you leave… be sure to check out some of our other popular articles on homeschooling below.


Thanks for this great article! How old were your kids when you made this room?
Thanks! When I created our first room my kiddos were in third grade and kindergarten. The second room we created after we recently built the addition to our home, they are were in sixth grade and second grade.