How to Create Melted Plastic Cups Colored with Sharpies
For a couple years my kiddos have been attending a Gymnastics Summer Camp. At this camp they offer some fun crafts for the girls. One of those crafts were to color a plastic cup and then they would melt them down and give them to the girls the next day. It was really neat to watch the cups melt down at home. I will warm you thought they will give off a nasty smell for a little bit so I would suggest not doing a bunch all at once.

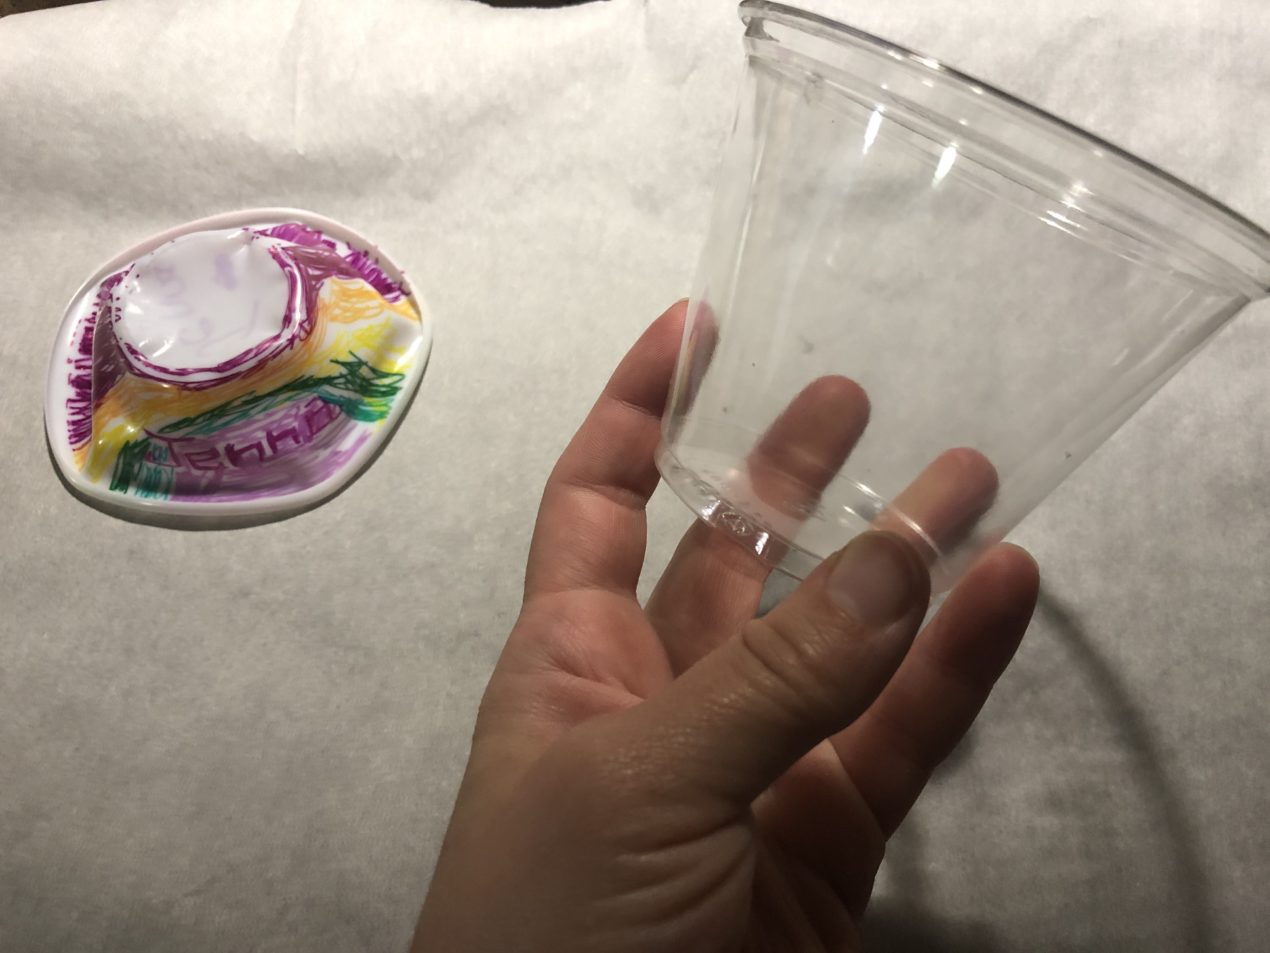
I’m gonna share with you how to Create Melted Plastic Cups Colored with Sharpie. So above you can see how the cup looks normal. For coloring these cups you will want the clear plastic for best results.
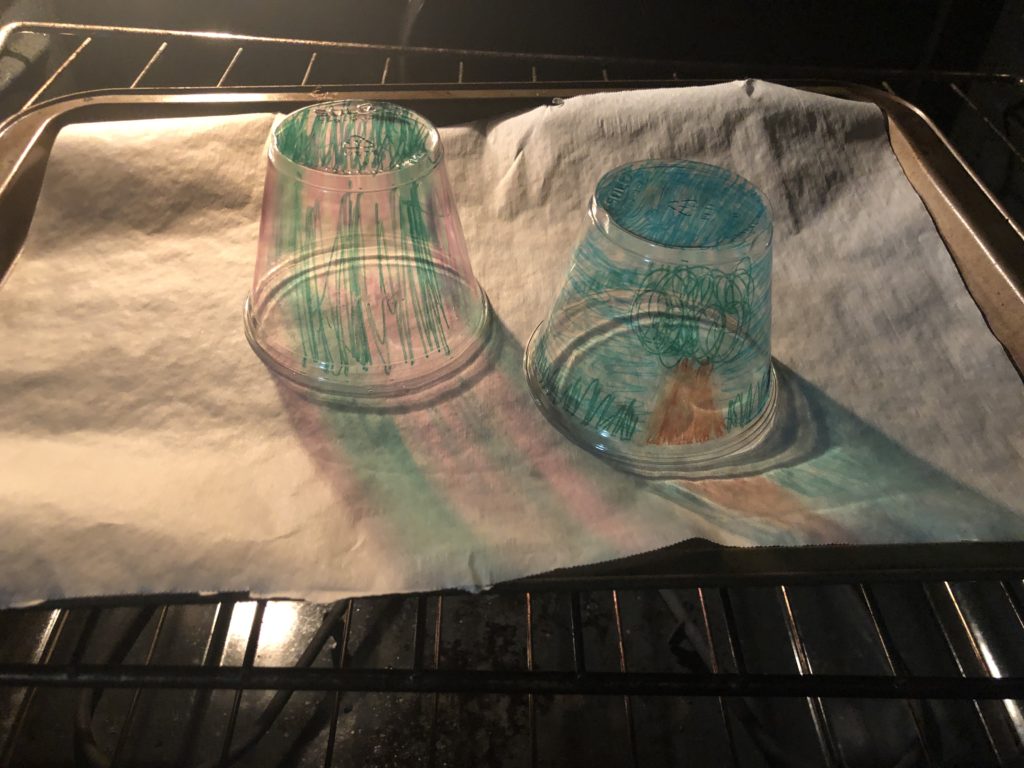
After you color your cups you will want to set them on a flat pan and place in the oven at 300 degrees. We used parchment paper just to be safe. They do melt fast! I would suggest turning the light on in your oven and then watching them as they melt. It only takes a minute or two. Once they are melted down you can take them out of the oven.
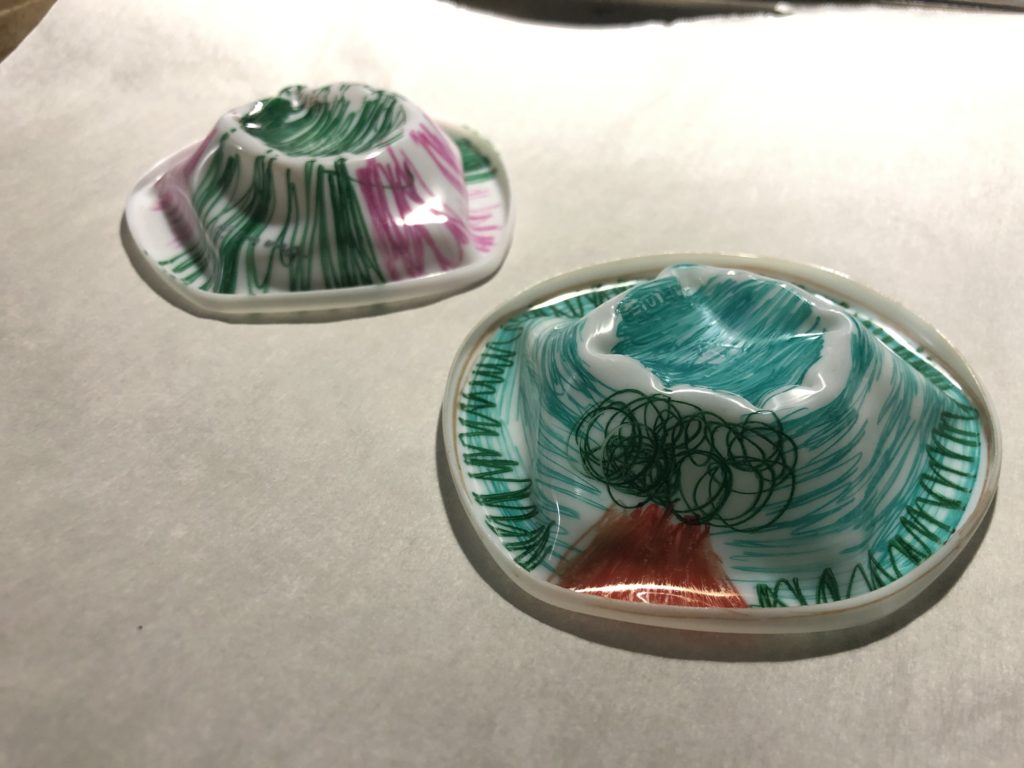
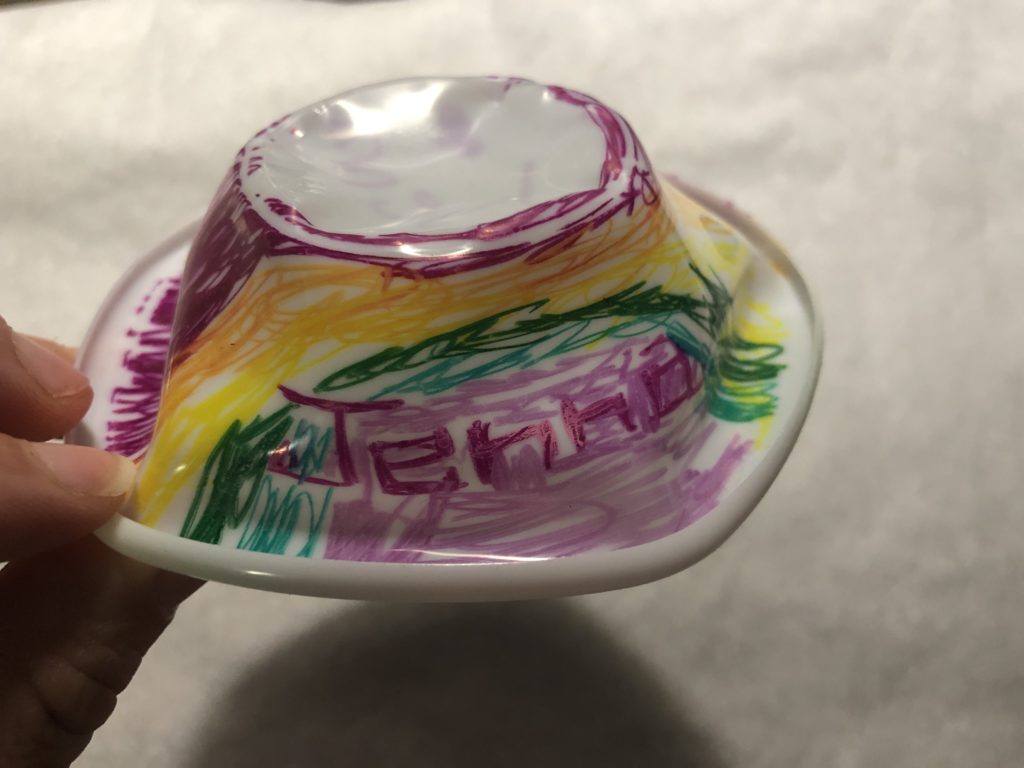
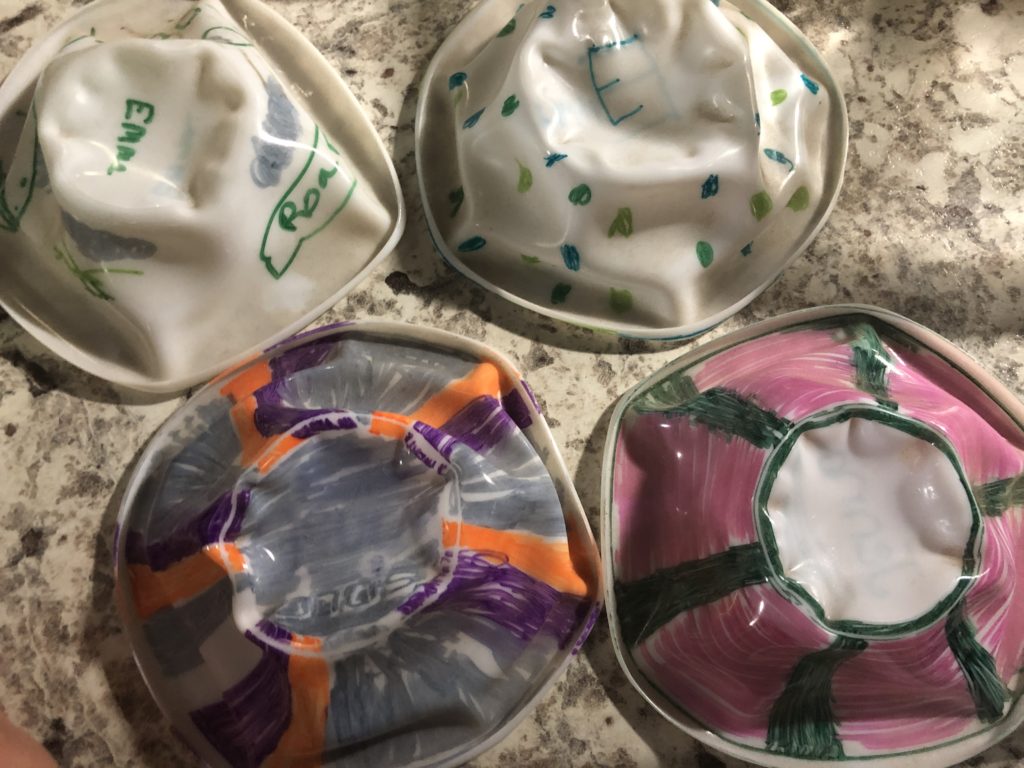
The cups crinkle down and form shapes like the ones above. Not only do they shrink down, but they also turn white!! The kids think it’s so cool. You can use them as jewelry holders, decorations, or whatever you can come up with!
This is definitely something you can turn into a science experiment and so some researching on how and why the cups change color when heated up. Sounds like it could be a lot of fun!!


Looking for more Frugal Tips and DIY? Head on over here to check out the everything frugal and here for the DIY!